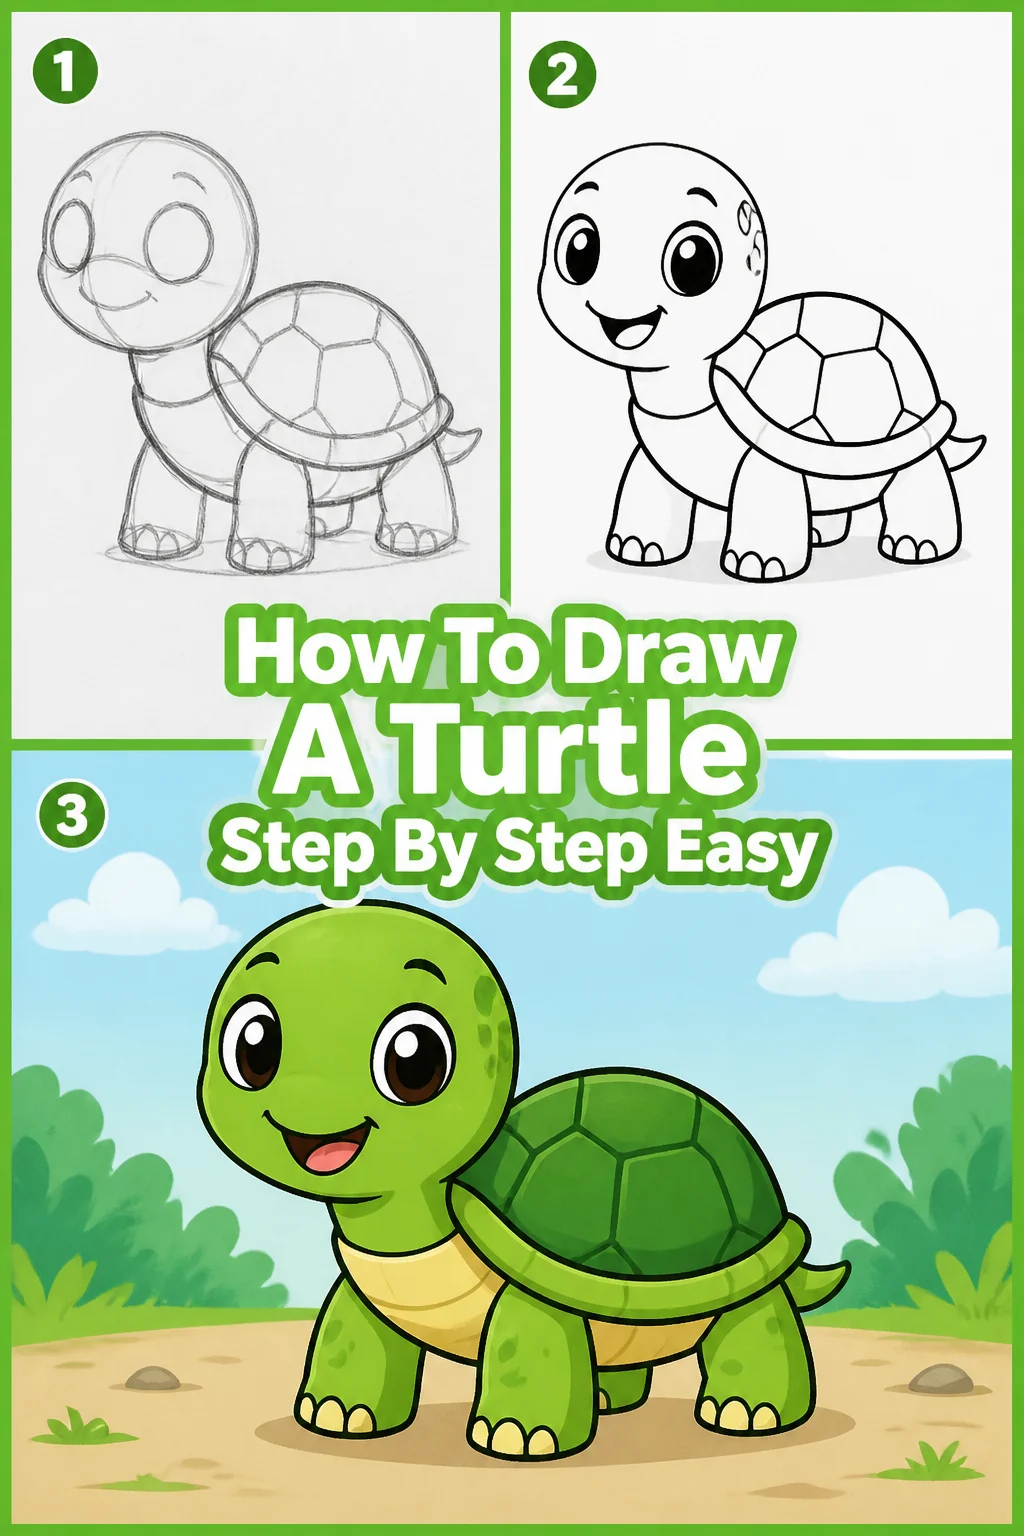
🐢 How To Draw A Turtle Step By Step Easy
Learning to draw can feel intimidating, but it doesn’t have to be.
I remember struggling with animal shapes myself, often ending up with something unrecognizable.
This guide simplifies the process, drawing on years of teaching beginner artists to help you create a charming turtle with ease.
Quick Overview
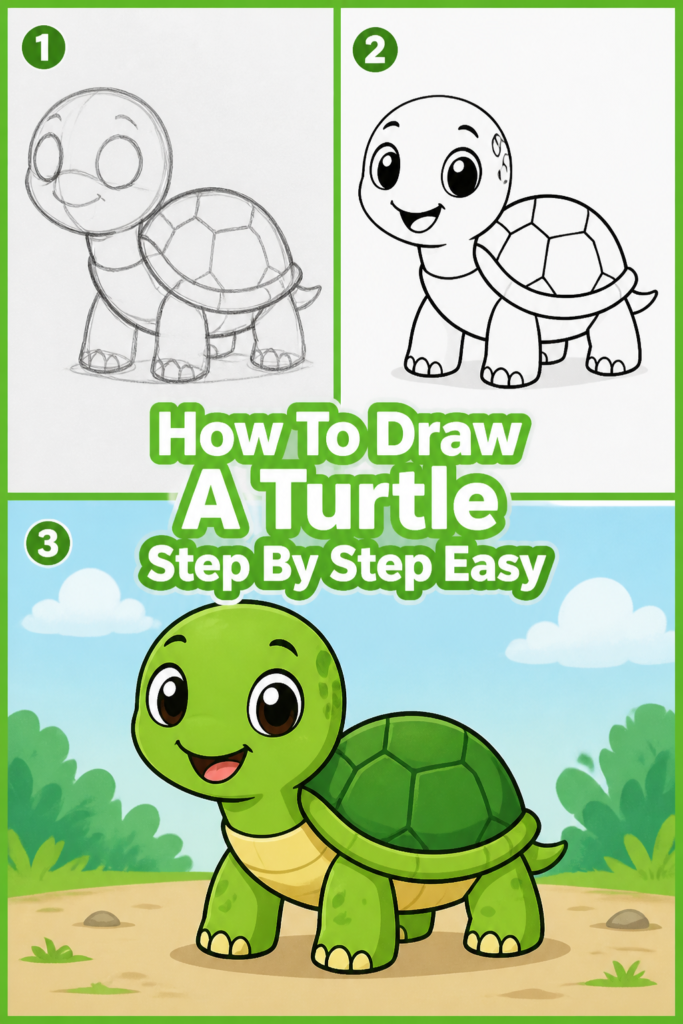
This guide will walk you through creating a simple, appealing turtle illustration from scratch. You’ll learn how to break down complex shapes into basic components, build details, and refine your drawing. By the end, you’ll have a completed turtle drawing and the confidence to tackle more projects.
- Time needed: 30-45 minutes
- Difficulty: Beginner
- What you’ll need: Pencil (HB or 2B recommended), eraser, paper, optional colored pencils or markers.
Step-by-Step Instructions
Step 1: Sketch the Body and Head
Begin by lightly sketching two overlapping oval shapes on your paper. A larger, horizontal oval will form the main body of the turtle. Place a smaller, slightly tilted oval above and to the left of the body oval for the head.
Think of these as your foundational guidelines. They don’t need to be perfect circles or ovals at this stage.
Pro Tip: Always use very light pencil strokes for your initial sketches. This makes it much easier to erase and adjust later without leaving unsightly marks on your paper.
Step 2: Connect the Head and Body
Now, draw two gentle, curved lines to connect the head oval to the body oval. These lines will form the turtle’s neck. Ensure the neck isn’t too thick or too thin, aiming for a natural transition.
Remember, turtles have surprisingly flexible necks, so give it a slight curve rather than a rigid connection.
Step 3: Outline the Shell
Next, let’s define the turtle’s iconic shell. Draw a larger, domed shape over the main body oval. This line should extend slightly beyond the initial body oval, giving the shell its characteristic rounded top and slightly flatter bottom edge.
Imagine a helmet covering the turtle’s back; it needs to have a bit of volume.
Step 4: Add the Flippers or Legs
Turtles have four limbs, whether they are flippers for swimming or sturdy legs for walking. Sketch four simple, rounded shapes extending from beneath the shell outline. Place two at the front, below the neck, and two at the back.
For a land turtle, make these shapes a bit thicker and more rounded. For a sea turtle, draw them longer and more paddle-like.
Step 5: Draw the Tail
A small, often overlooked detail is the turtle’s tail. Sketch a tiny, triangular or rounded shape extending from the very back of the shell. It should be relatively short and subtle.
Ensure the tail looks like a natural extension of the body, not an afterthought.
Step 6: Refine Facial Features
Focus on the head now. Draw two small circles for the eyes, placing them on either side of the head oval. Add a small dot within each circle for the pupils. Below the eyes, sketch a curved line for the mouth, giving your turtle a gentle expression.
You can add a tiny nostril dot above the mouth if you wish, for extra detail.
Step 7: Detail the Shell Pattern
This step adds character to your turtle. Lightly draw a series of hexagonal or square shapes across the shell’s surface. Start with a larger central shape, then surround it with smaller, interlocking patterns.
These lines can be slightly curved to follow the shell’s dome, making it look more realistic. Don’t worry about perfect symmetry.
Step 8: Clean Up Your Lines
With all the basic elements in place, it’s time to clean up. Carefully erase all the initial light sketch lines and any unnecessary overlaps. Go over your preferred outlines with a slightly firmer pressure, making them darker and more defined.
This step truly brings your turtle to life, transforming guidelines into solid forms.
Step 9: Add Texture and Shading (Optional)
To give your turtle more depth, consider adding some light shading. Pick a direction for your light source and shade the opposite side of the shell, body, and limbs. You can also add very light, fine lines on the skin to suggest texture.
A few cross-hatch lines on the shell can also enhance its appearance.
Step 10: Color Your Turtle (Optional)
If you’re using colored pencils or markers, now is the time to add color. Turtles come in various shades of green, brown, and even yellow. Use a darker shade for the shell and a lighter one for the skin.
Consider adding highlights to make your turtle pop, especially on the top of the shell.
Common Mistakes to Avoid
Disproportionate Body Parts
One frequent issue beginners face is making the head too large or the flippers too small. This can make the turtle look unnatural or unbalanced. Always compare the size of each part to the overall body, ensuring they look harmonious. Step back and look at your drawing from a distance to spot these inconsistencies.
Flat Shells
Many early attempts result in a shell that looks flat, like a pancake, rather than domed and three-dimensional. Remember that the shell is a protective covering with volume. Ensure your shell lines curve both horizontally and vertically, giving it a rounded, substantial appearance.
Stiff Flippers or Legs
Drawing limbs that are too straight or rigid can make your turtle appear lifeless. Turtles move fluidly, and their flippers or legs should reflect that. Introduce gentle curves and a sense of movement, even if the turtle is stationary. Think about how a real turtle would hold its limbs.
Rushing Details
It’s tempting to jump straight to adding shell patterns or facial details. However, skipping the foundational shapes often leads to errors in proportion and structure. Always build your drawing from large, simple shapes to smaller, intricate details. Patience in the early stages pays off with a much better final result.
Troubleshooting
My Turtle Looks Unnatural
If your turtle doesn’t quite look right, often the problem lies in the basic shapes or proportions. Go back to Step 1 and redraw your initial ovals very lightly. Focus on getting the overall size and placement of the head, body, and shell correct before adding any details. Sometimes, simply adjusting the angle of the head or the curve of the neck makes a huge difference.
My Lines Are Messy
Messy lines usually indicate too much pressure on your pencil during the initial sketch or not enough erasing. Remember to sketch very lightly at first. Use a good quality eraser to clean up unwanted lines thoroughly. When you’re ready for final lines, try to draw them in confident, smooth strokes rather than many short, “hairy” lines. Practice drawing long, continuous curves on scrap paper.
I Can’t Get the Shell Pattern Right
The shell pattern can be tricky, but it doesn’t need to be perfect. If your hexagons or squares look awkward, simplify them. Start with just a few large, irregular shapes that hint at the pattern rather than trying to draw every scute perfectly. Remember that real turtle shells have variations and imperfections. You can also draw simpler lines radiating from the center of the shell for a more stylized look.
Key Takeaways
- Start every drawing with light, basic geometric shapes to establish proportion.
- Build your drawing gradually, moving from large forms to smaller, intricate details.
- Use an eraser frequently to refine lines and correct mistakes without fear.
- Practice drawing smooth, confident lines rather than short, hesitant ones.
- Observe real turtles or reference images to understand their unique anatomy and movement.
- Don’t strive for perfection on your first try; consistency and practice lead to improvement.
Frequently Asked Questions
What kind of pencil is best for sketching?
For initial sketching, an HB pencil is ideal as it’s not too dark and erases easily. Once you’ve established your outlines, a 2B or 4B pencil can be used to add darker lines and shading, giving your drawing more depth. Having a range allows for versatility.
How do I make my turtle look more realistic?
To enhance realism, pay close attention to details like skin texture, subtle wrinkles around the joints, and the curvature of the shell. Observing reference photos of real turtles is incredibly helpful. Adding realistic shading and highlights also makes a significant difference in bringing your drawing to life.
Can I draw this digitally?
Absolutely! The same step-by-step principles apply to digital drawing. Use separate layers for your initial sketch, outlines, and colors. Digital tools offer the advantage of easy undoing and precise line control, making it a fantastic medium for this guide.
What if my first attempt isn’t perfect?
That’s perfectly normal and expected! Drawing is a skill that improves with practice. Focus on understanding the process and enjoying the creative journey, rather than demanding perfection from your first try. Each attempt is a learning experience, bringing you closer to your desired outcome.
Our Top Recommended Finds
- Quality Sketchbook: A sketchbook with thicker, smooth paper minimizes bleed-through and withstands erasing better, providing a more pleasant drawing experience.
- Drawing Pencil Set: A basic set of pencils (e.g., HB, 2B, 4B, 6B) allows you to experiment with different line weights and shading intensities.
- Kneaded Eraser: Unlike standard erasers, a kneaded eraser lifts graphite without smudging or damaging the paper, perfect for lightening lines or cleaning up large areas.
Your Artistic Journey Continues
You’ve just completed a charming turtle drawing, mastering foundational techniques along the way. This accomplishment is a testament to your patience and creativity. You now possess the skills to tackle even more exciting projects.
Why not try drawing different turtle species next, or perhaps placing your turtle in a vibrant underwater scene? The possibilities are endless when you approach drawing with a step-by-step mindset. Grab your tools and continue exploring the wonderful world of art today!