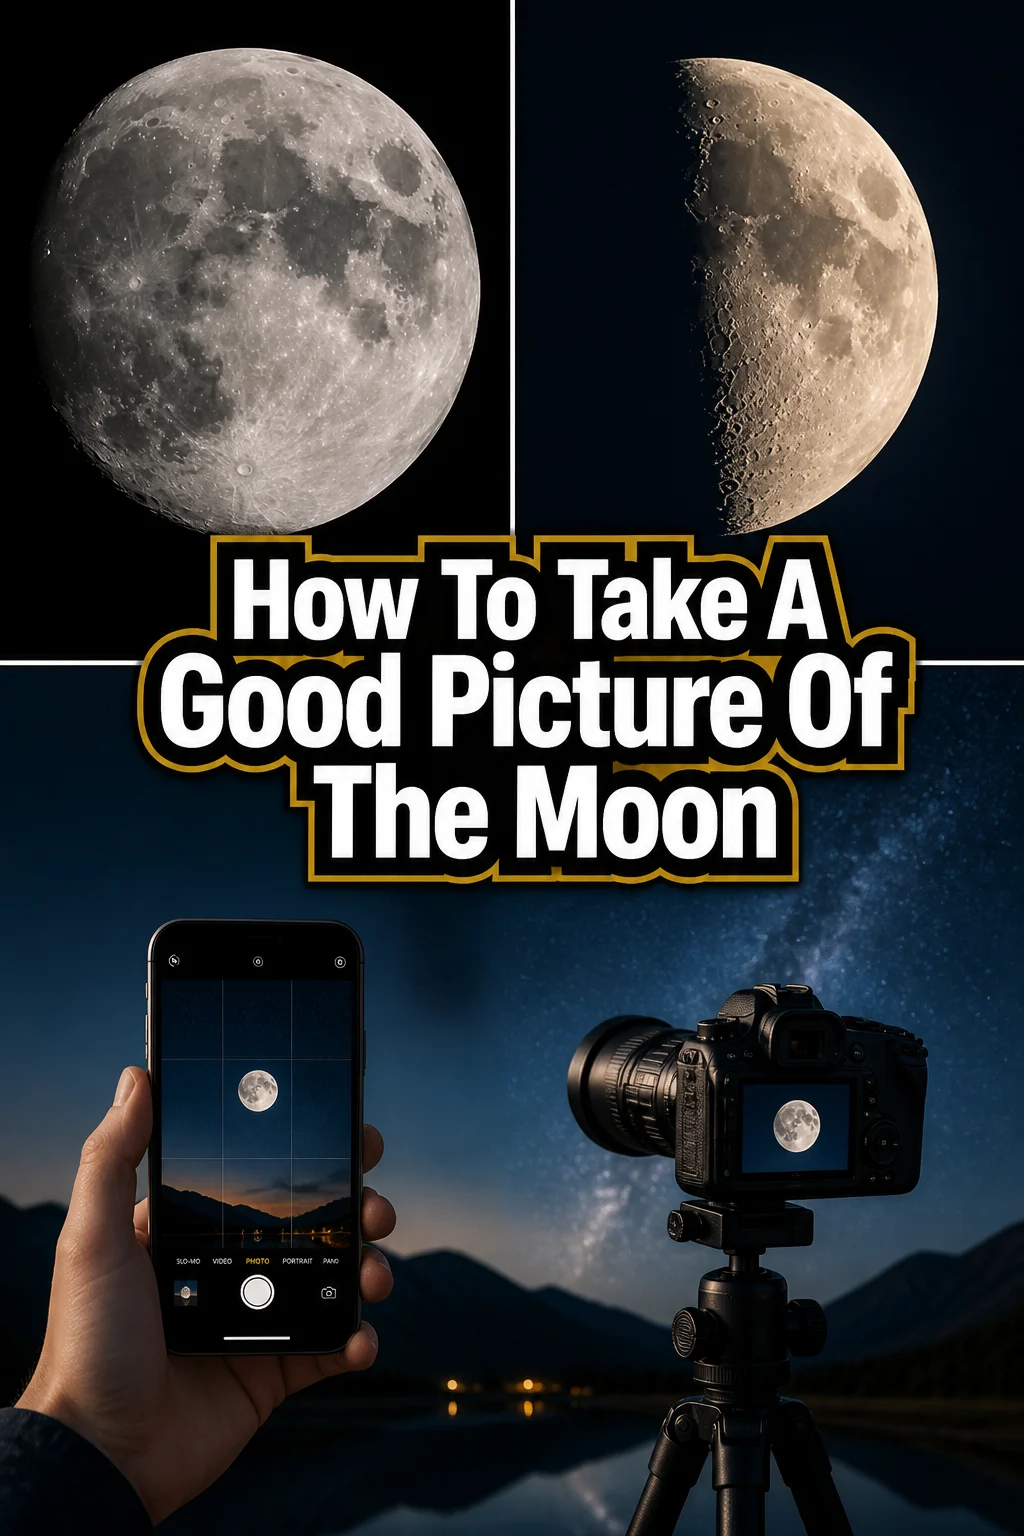
🌕 How To Take A Good Picture Of The Moon
Capturing the moon’s ethereal glow in a photograph feels like a magical feat. My own journey began with countless blurry, disappointing attempts, often just a tiny white dot in a black sky.
Over time, through trial and error and many late-night sessions, I discovered the specific techniques that transform those dots into stunning, detailed lunar portraits. This guide distills that practical experience into clear steps, helping you achieve impressive moon photos.
Quick Overview
This guide will equip you with the knowledge and steps to confidently photograph the moon, moving beyond blurry blobs to crisp, detailed images. You will learn about essential gear, optimal camera settings, and crucial post-processing tips.
- Time needed: 1-2 hours (including setup, shooting, and initial review)
- Difficulty: Intermediate
- What you’ll need: DSLR or mirrorless camera, telephoto lens, sturdy tripod, remote shutter release.
Step-by-Step Instructions
Step 1: Plan Your Lunar Expedition
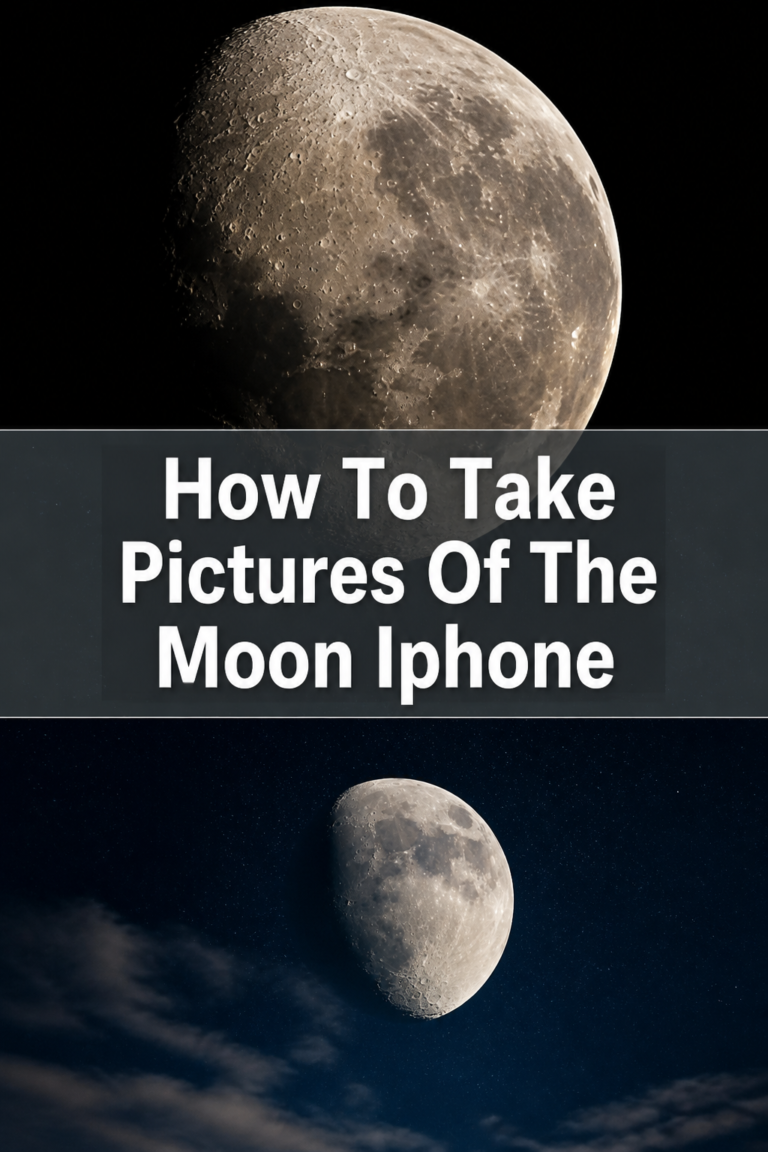
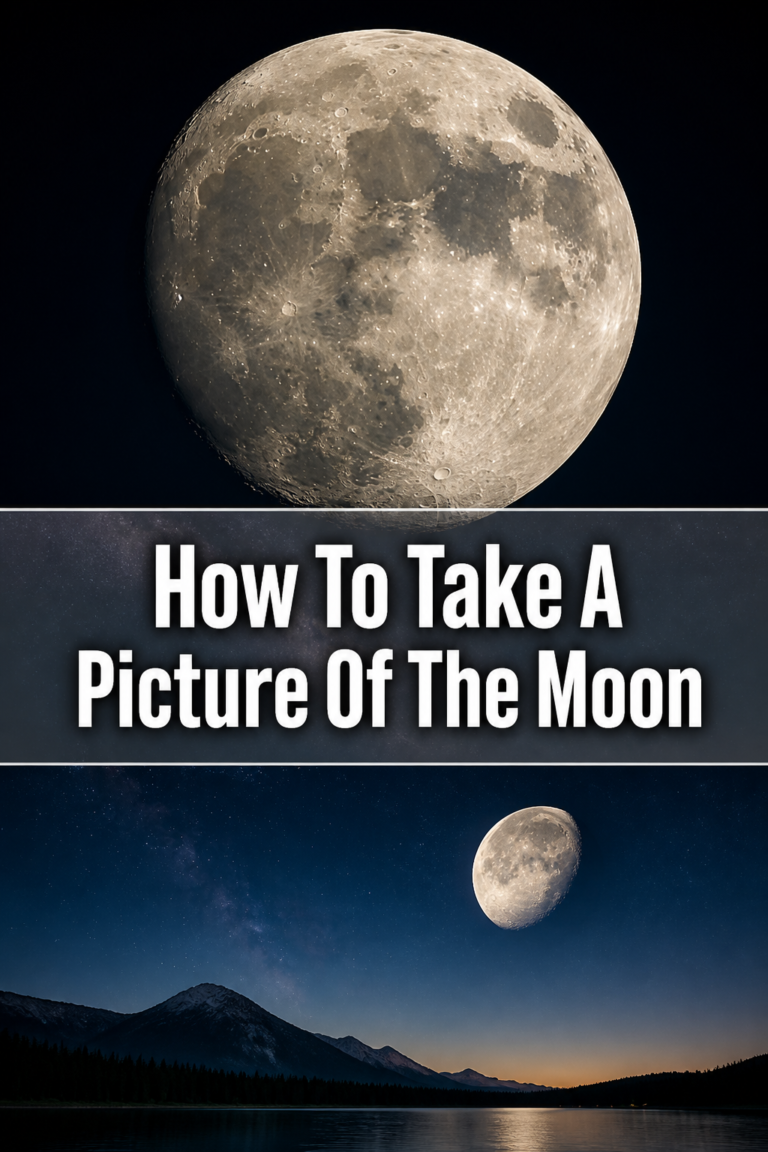
Successful moon photography begins long before you even touch your camera. Check the moon phase and its rise/set times for your location. A full moon is popular, but a crescent or gibbous moon often shows more surface detail due to shadows.
Monitor the weather forecast for clear skies. Any clouds can obscure your view and ruin your shot. Identify a suitable location with an unobstructed view of the moon and minimal light pollution.
Step 2: Assemble Your Essential Gear
Gather your camera, ensuring its battery is fully charged. You will need a telephoto lens, preferably 200mm or longer, to bring the moon closer. The longer the focal length, the larger the moon will appear in your frame.
Pack a sturdy tripod to eliminate camera shake, and a remote shutter release (wired or wireless) or use your camera’s self-timer. These tools are non-negotiable for sharp moon images.
Pro Tip: A high-quality teleconverter can extend your lens’s reach without needing a new lens, but be aware it might slightly reduce image quality and light gathering.
Step 3: Choose Your Vantage Point
Select a location with a clear, unobstructed view of the moon. Avoid areas with trees, buildings, or excessive light pollution directly in your line of sight. Higher ground can often provide a better perspective.
Arrive at your chosen spot well before the moon rises or sets to allow ample time for setup. This helps you settle in without rushing, especially in low light.
Step 4: Set Up Your Camera System
Mount your camera securely onto your tripod. Ensure all legs are fully extended and stable, especially on uneven terrain. A wobbly tripod is the enemy of sharp moon photos.
Attach your telephoto lens to the camera. If you have any filters on your lens, such as UV filters, remove them to prevent potential glare or reflections.
Step 5: Dial In Manual Camera Settings
This is where you take full control. Switch your camera to Manual (M) mode. This allows precise adjustments for optimal exposure.
Set your aperture between f/8 and f/11. This range typically provides the sharpest results for most lenses. A narrower aperture increases depth of field, which isn’t critical for the moon, but helps with overall lens sharpness.
Adjust your ISO to the lowest possible setting, usually ISO 100 or 200, to minimize digital noise. The moon is surprisingly bright, so a high ISO is rarely needed.
Start with a shutter speed of around 1/125s to 1/250s. The moon moves surprisingly fast across the sky, and a faster shutter speed helps freeze its motion. You will fine-tune this based on your initial shots.
Pro Tip: The “Looney 11” rule is a good starting point: f/11, ISO 100, and a shutter speed of 1/100s (or 1/focal length). Adjust from there based on your specific conditions.
Step 6: Achieve Critical Focus
Set your lens to manual focus (MF). Autofocus systems often struggle with the moon against a dark sky. Engage your camera’s Live View mode and zoom in digitally to the moon’s surface as much as possible.
Carefully rotate the focus ring on your lens until the craters and features on the moon appear crisp and sharp. Take your time with this step; precise focus is paramount for a detailed image.
Step 7: Execute the Shot with Precision
Connect your remote shutter release or activate your camera’s 2-second timer. This prevents any vibration caused by pressing the shutter button directly. Even the slightest camera shake can introduce blur.
Take several shots, experimenting with slightly faster or slower shutter speeds around your initial setting. Review each image on your camera’s LCD screen.
Step 8: Review and Refine Your Images
After taking a few shots, zoom in on your camera’s LCD screen to check for sharpness. Look closely at the moon’s surface details. If images appear soft, readjust your focus.
Examine your histogram to ensure your exposure is balanced. You want detail in the highlights without blowing them out (pure white). Adjust shutter speed as needed to brighten or darken the exposure.
Step 9: Enhance in Post-Processing
Once you are back home, import your images into editing software like Adobe Lightroom, Photoshop, or a free alternative. Crop the image to frame the moon effectively. Often, the moon will still be small in the frame, so cropping is essential.
Adjust the exposure, contrast, and highlights to bring out more detail. Increase sharpness and clarity subtly to make the lunar features pop. Be careful not to over-sharpen, which can introduce artifacts.
Common Mistakes to Avoid
Shooting in Auto Mode
Relying on your camera’s automatic settings is a common pitfall. Auto mode is designed for general scenes, not the specific challenges of moon photography. It will often overexpose the moon, turning it into a blown-out white disc, because it tries to expose for the vast dark sky around it. Always use manual mode to control aperture, ISO, and shutter speed independently.
Forgetting a Sturdy Tripod
Many photographers underestimate the importance of a tripod for moon shots. Even with fast shutter speeds, any minuscule movement from handholding or an unstable surface will result in a blurry image. A robust tripod anchors your camera, ensuring maximum sharpness and detail, especially with heavy telephoto lenses.
Overlooking Critical Focus
One of the most frequent reasons for disappointing moon photos is inaccurate focus. Autofocus struggles against a dark sky, and even a slight misfocus makes the moon appear soft and lacking detail. Always use manual focus, zoom in on Live View, and meticulously adjust until craters are tack sharp.
Exposing for the Night Sky
A common misconception is that moon photography requires long exposures suitable for night scenes. The moon itself is extremely bright, illuminated by direct sunlight. If you expose for the dark sky, the moon will be completely overexposed and lose all its surface detail. Remember to expose for the moon’s brightness, treating it more like a daylight subject.
Troubleshooting
Blurry or Soft Images
If your moon pictures lack sharpness, several factors could be at play. First, recheck your focus. Ensure you used manual focus and zoomed in via Live View to achieve critical sharpness. Second, assess your tripod stability. Any wobble, even from wind, can cause blur. Lastly, verify your shutter release method. Using a remote trigger or 2-second timer is crucial to prevent camera shake.
Moon Appears Washed Out or Too Bright
This is a classic sign of overexposure. The moon is much brighter than the surrounding night sky. Decrease your shutter speed (make it faster, e.g., from 1/125s to 1/250s or 1/500s) to reduce the amount of light hitting the sensor. You can also slightly reduce your ISO if it’s above 200, or narrow your aperture (increase the f-number, e.g., from f/8 to f/11) to control brightness.
Lack of Detail on the Moon’s Surface
If your moon is bright but lacks craters and texture, it could be a combination of issues. Ensure your focus is absolutely precise. A slightly out-of-focus moon will look flat. Also, check your exposure: if it’s slightly overexposed, highlights might be blown out, washing away detail. In post-processing, carefully adjust contrast, highlights, and clarity to enhance the subtle textures and shadows on the lunar surface.
Key Takeaways
- Manual camera settings are essential for precise control over exposure.
- A sturdy tripod and remote shutter release are critical for preventing camera shake and ensuring sharp images.
- Achieving tack-sharp manual focus on the moon’s surface is paramount for capturing detail.
- Expose for the moon’s brightness, not the dark night sky, to avoid overexposure.
- Post-processing, including cropping, contrast adjustments, and sharpening, significantly enhances the final image.
- Patience and experimentation with settings will lead to increasingly better results.
Frequently Asked Questions
What is the best time to photograph the moon?
While a full moon is visually striking, its lack of shadows can make surface details less prominent. A waxing or waning gibbous moon, or even a crescent, often offers more dramatic shadows and texture. Shoot when the moon is higher in the sky to minimize atmospheric distortion, typically several hours after moonrise or before moonset.
Can I take good moon pictures with a smartphone?
While dedicated cameras offer superior results, modern smartphones can capture decent moon images, especially with clip-on telephoto lenses or through telescopes using adapters. Use manual camera apps to control exposure and ISO, and always stabilize your phone with a small tripod or mount. Manage expectations, as results won’t match a DSLR with a long lens.
What focal length lens do I need for moon photography?
For a truly impactful moon photo where the moon fills a significant portion of the frame, a telephoto lens of at least 200mm is recommended. Lenses in the 300mm to 600mm range are even better. The longer the focal length, the larger the moon will appear in your image, allowing for more cropping and detail.
Why does my moon look so small in pictures?
The moon appears small in photos because it is physically very far away. Without a sufficiently long telephoto lens (200mm+), it will occupy only a tiny fraction of your camera’s sensor. To make the moon appear larger, you need a longer focal length lens, or you will need to heavily crop your image in post-processing, which can reduce overall image quality.
Our Top Recommended Finds
- Sturdy Carbon Fiber Tripod: Provides excellent stability for long lenses without excessive weight, crucial for sharp moon shots.
- Telephoto Lens (300mm+): Essential for bringing the moon closer and capturing its intricate details effectively.
- Wireless Remote Shutter Release: Eliminates camera shake entirely, allowing for perfectly still exposures and crisp images.
Your Lunar Photography Journey Begins
The moon is a constant, inspiring presence in our night sky, and now you have the tools to capture its beauty. Don’t be discouraged by initial attempts that aren’t perfect. Photography, especially of celestial subjects, thrives on practice and patience.
Take these steps, experiment with your settings, and observe how each adjustment changes your results. Challenge yourself to capture different phases, or try to include the moon with a foreground element. The sky is literally not the limit! Go out tonight, point your lens upwards, and start creating your own stunning lunar masterpieces.