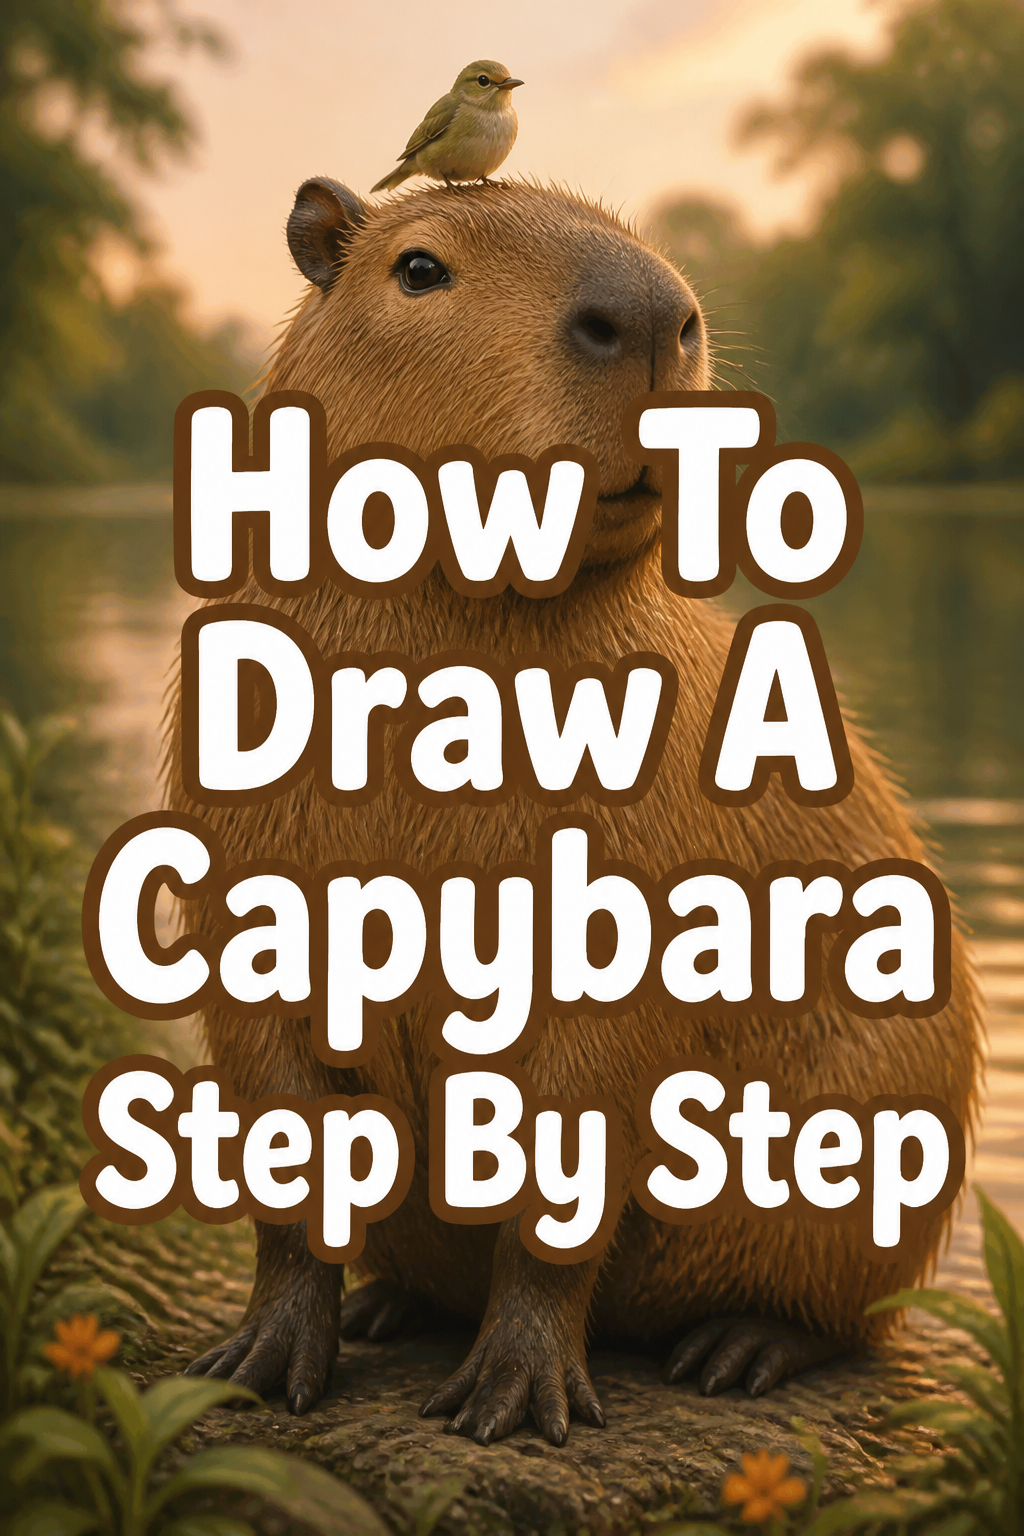
🎨 How To Draw A Capybara Step By Step

& Painting
No rigid rules or pretension. Just practical guides, medium comparisons, and encouraging tips to help you enjoy the drawing & painting process.
Drawing a capybara might seem daunting at first glance.
But with the right guidance, anyone can capture their charming, chill essence.
Having sketched countless critters myself, I’ve refined a process that makes even the most complex shapes accessible.
Quick Overview
This guide will walk you through creating your very own capybara, from basic shapes to final details. You’ll finish with a delightful drawing ready to be admired.
- Time needed: 30-50 minutes
- Difficulty: Beginner
- What you’ll need: Pencil (HB or 2B recommended), paper, eraser, optional: fine-liner pen, colored pencils or markers
Step-by-Step Instructions
Step 1: Sketch the Basic Forms
Begin by lightly drawing a large, oval shape for the capybara’s body. This will be the main mass of your capybara, so make it fairly central on your paper.
Add a smaller, slightly flattened circle for the head, overlapping the body oval slightly on one side. Think of it as a potato attached to a bigger potato.
Pro Tip: Use very light lines for these initial shapes. You’ll be erasing them later, so a light touch is key for a clean final drawing.
Step 2: Connect the Head and Body
Draw two gentle, curved lines to connect the head circle to the body oval. These lines will form the capybara’s neck and jawline.
Ensure these lines create a smooth transition, giving the capybara its characteristic blocky yet rounded silhouette. Avoid sharp angles here.
Step 3: Position the Legs and Feet
Mark the general placement of the four short, sturdy legs. Capybaras have relatively short legs that are positioned almost directly under their body.
Sketch simple rectangular or cylindrical shapes for the upper legs, extending downwards from the body. Then, add small, rounded shapes for the feet at the bottom of each leg.
Step 4: Define the Head Features
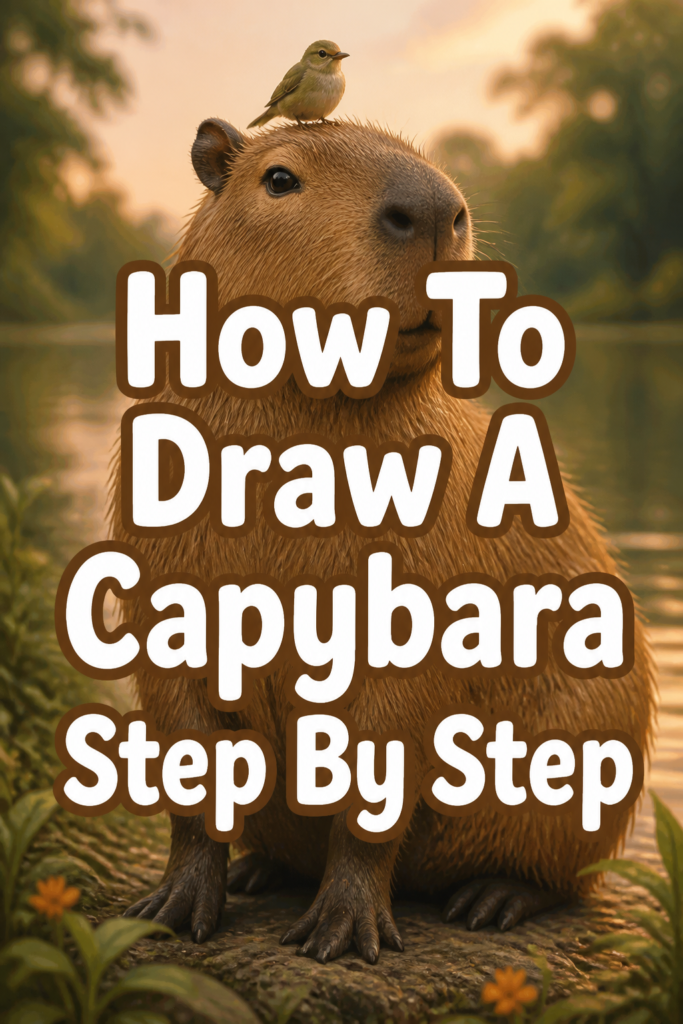
Locate the eyes high on the head, close to the top. They are small and dark, giving the capybara its calm expression.
Draw two small, rounded ears on top of the head, slightly to the back. They are not very prominent but are important for recognition.
Sketch the snout, which is broad and somewhat square. Add two small nostrils near the front of the snout, and a subtle line for the mouth.
Pro Tip: Pay attention to the spacing of the facial features. Capybara faces are quite flat and wide, so avoid drawing eyes too far apart or too low.
Step 5: Refine the Body Shape
Smooth out the initial oval and connecting lines to create the final contour of the capybara’s body. Capybaras have a somewhat barrel-shaped body, with a slight dip in the back.
Add a tiny, almost invisible tail if you wish. It’s a very small nub, hardly noticeable.
Adjust the leg shapes, giving them a more organic, slightly tapered look. Remember, their legs are thick and strong.
Step 6: Add Details and Texture
Draw the characteristic webbed feet, showing three prominent toes on each foot. These are essential for their semi-aquatic lifestyle.
Include subtle lines to suggest the coarse, shaggy fur. This can be done with short, directional strokes following the body’s form.
Darken the eyes and nostrils to make them stand out. A small highlight in the eye can add life.
Step 7: Erase and Outline
Carefully erase all the initial light sketch lines and construction guides. Take your time to remove any unnecessary marks.
Go over your final lines with a slightly darker pencil or a fine-liner pen. This will give your capybara a crisp, finished look.
Refine any edges that need sharpening or softening. This is where your drawing truly comes to life.
Step 8: Shading and Coloring (Optional)
Apply light shading to give your capybara dimension. Think about where light would hit and where shadows would fall, typically under the belly and legs.
Use warm brown and reddish-brown tones if coloring. Capybaras have a fairly uniform brown coat, but you can add subtle variations for depth.
Consider adding a simple ground line or a hint of water to place your capybara in its natural habitat.
Common Mistakes to Avoid
Making the Body Too Thin or Round
Capybaras have a distinct, somewhat rectangular and barrel-like body shape. Drawing them too thin makes them look unlike themselves, while making them perfectly round removes their sturdy appearance.
Always aim for a broad, solid base with a slight curve, rather than a narrow or perfectly spherical form. Their unique physique is a key identifier.
Incorrect Head to Body Proportions
It’s easy to make the head too large or too small compared to the body. A capybara’s head is relatively small in proportion to its substantial body.
Start with a large body oval and then add a smaller head shape that gently connects. This helps maintain the correct balance and their calm, almost stoic presence.
Missing or Incorrect Facial Features
The eyes, ears, and snout are crucial for capturing the capybara’s unique expression. Drawing eyes too low, ears too big, or a snout too pointed can drastically change its appearance.
Remember, their eyes are high and small, ears are small and rounded on top, and the snout is broad and somewhat blunt. These details collectively create their endearing look.
Neglecting the Coarse Fur Texture
Capybaras have coarse, bristly fur, not smooth skin. Omitting this texture can make your drawing look flat or less realistic.
Use short, overlapping pencil strokes in the direction of the fur to suggest this texture. It doesn’t need to be overly detailed, just enough to convey the feel.
Troubleshooting
My Capybara Looks Like a Pig or a Guinea Pig
This often happens when the proportions are off, especially the head-to-body ratio or the leg length. Capybaras have much larger, heavier bodies and shorter, thicker legs than a pig, and are much larger than a guinea pig.
Review Step 1 and 3. Ensure your body is significantly larger than the head, and that the legs are short and sturdy, placed well under the body. Focus on the broad, flat snout rather than a pointed one.
My Lines Are Messy and I Can’t Erase Them Cleanly
This is a common issue for beginners. It usually means you’re pressing too hard with your pencil during the initial sketch phases.
Practice drawing with a very light hand, especially for the first few steps. Use an HB or 2B pencil, which provides good contrast without requiring heavy pressure. A kneaded eraser can also help lift graphite gently without smudging or damaging the paper.
The Drawing Lacks Depth and Looks Flat
Flatness often comes from a lack of shading or insufficient attention to form. Your drawing needs to convey that it’s a three-dimensional creature on a two-dimensional surface.
Revisit Step 8. Introduce subtle shading under the belly, around the legs, and perhaps on one side of the body to suggest volume. Think about where light sources would naturally create shadows, even very light ones.
Key Takeaways
- Always start with light, basic shapes for a strong foundation.
- Pay close attention to the unique capybara proportions, especially the head and body.
- Define facial features carefully to capture their calm and distinctive expression.
- Add subtle texture to represent their coarse fur.
- Use shading to give your drawing depth and a three-dimensional feel.
- Don’t be afraid to erase and refine; practice makes perfect.
Frequently Asked Questions
What kind of pencil is best for drawing a capybara?
An HB pencil is excellent for initial sketches as it’s not too dark and erases easily. For outlining and adding details, a 2B or 4B pencil will give you darker, richer lines. Consider using a fine-liner pen for a crisp final outline.
How can I make my capybara look more realistic?
Focus on subtle details like the texture of their fur, the slight webbing on their feet, and the way light interacts with their body. Observing reference photos of real capybaras will greatly improve your realism. Don’t forget their calm expression.
Is it okay if my first attempt isn’t perfect?
Absolutely! Drawing is a skill that improves with practice. Every artist starts somewhere, and mistakes are part of the learning process. Embrace each drawing as a step forward in your artistic journey, and don’t be afraid to try again.
Should I draw a background for my capybara?
Adding a simple background can greatly enhance your drawing, providing context and atmosphere. A few lines for grass, a hint of water, or some distant trees can place your capybara in its natural habitat without overwhelming the main subject.
Our Top Recommended Finds
- Sketching Pencil Set: A good set offers a range of lead hardness for different stages of your drawing.
- Quality Sketchbook: Smooth paper with a bit of tooth holds graphite well and stands up to erasing.
- Kneaded Eraser: Perfect for lifting graphite gently without smudging, preserving your paper.
Your Capybara Drawing Journey Continues
You’ve successfully drawn a charming capybara, a testament to your patience and creativity. Each stroke you made brought this gentle giant to life on your paper.
Now, consider drawing your capybara in different poses, perhaps swimming or interacting with friends. Explore adding color to truly bring out its natural beauty.
Pick up your pencil today and let your artistic adventure with these wonderful creatures continue.
& Painting
No rigid rules or pretension. Just practical guides, medium comparisons, and encouraging tips to help you enjoy the drawing & painting process.