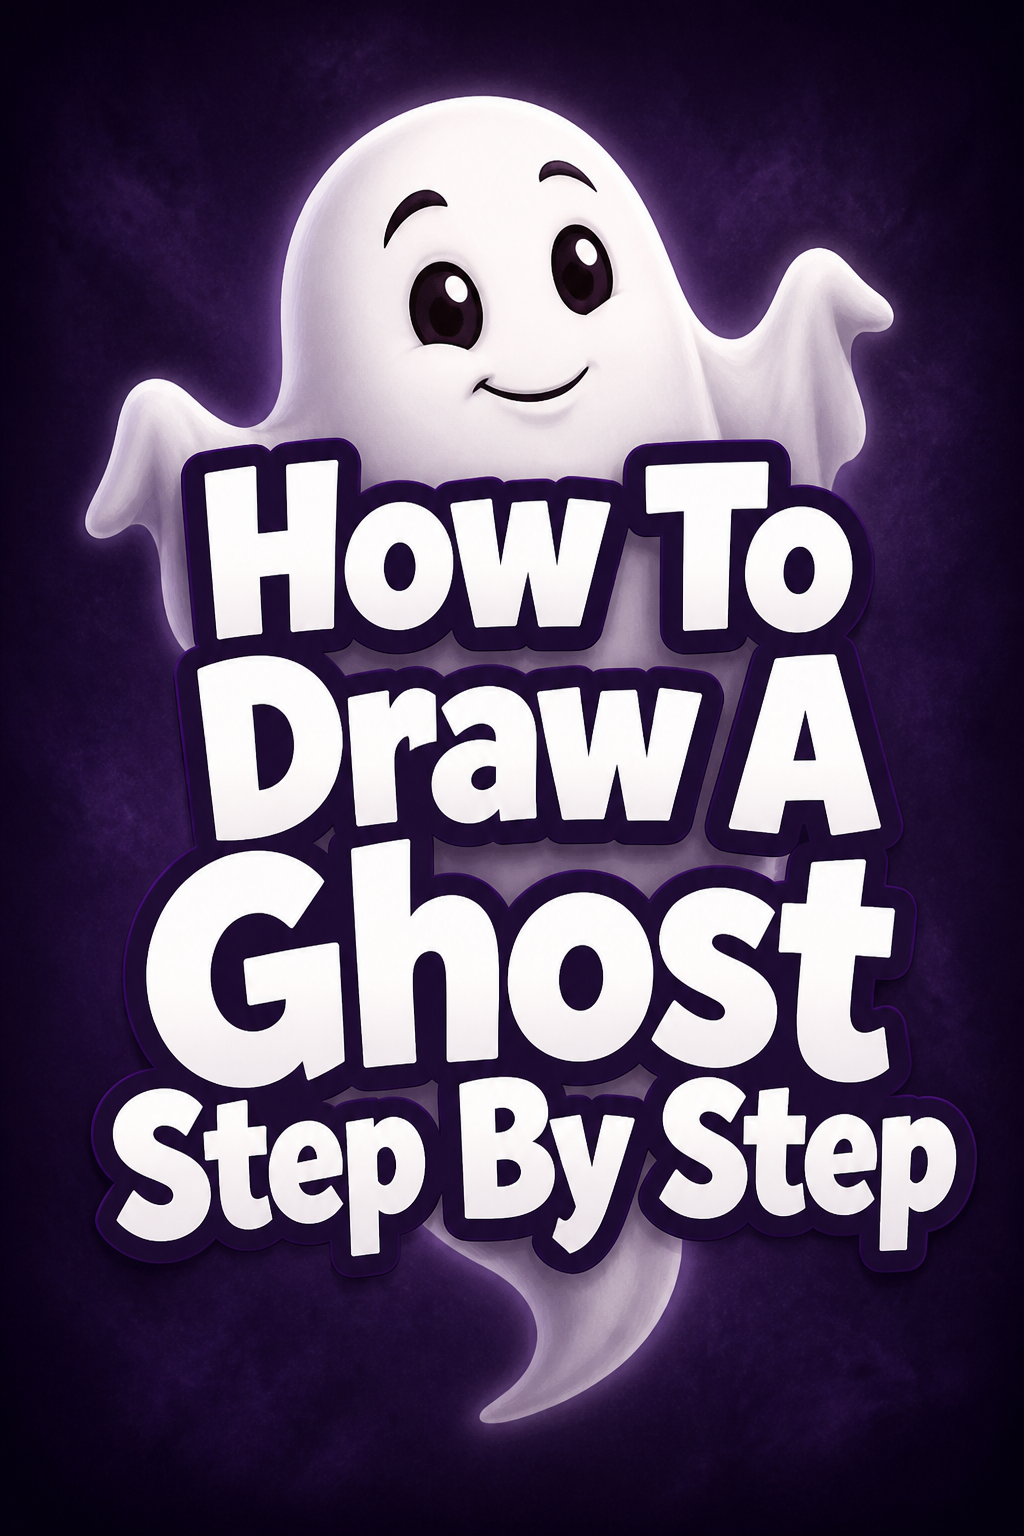
👻 How To Draw A Ghost Step By Step

& Painting
No rigid rules or pretension. Just practical guides, medium comparisons, and encouraging tips to help you enjoy the drawing & painting process.
Drawing can feel intimidating at first, especially if you think you lack artistic talent. But what if I told you that creating a charming, spooky ghost is far simpler than it appears? I’ve spent countless hours doodling all sorts of creatures, and ghosts are a fantastic starting point for anyone.
This guide will walk you through each line, curve, and detail, transforming a blank page into your very own spectral friend. You’ll gain the confidence to bring your imagination to life, one easy step at a time.
Quick Overview
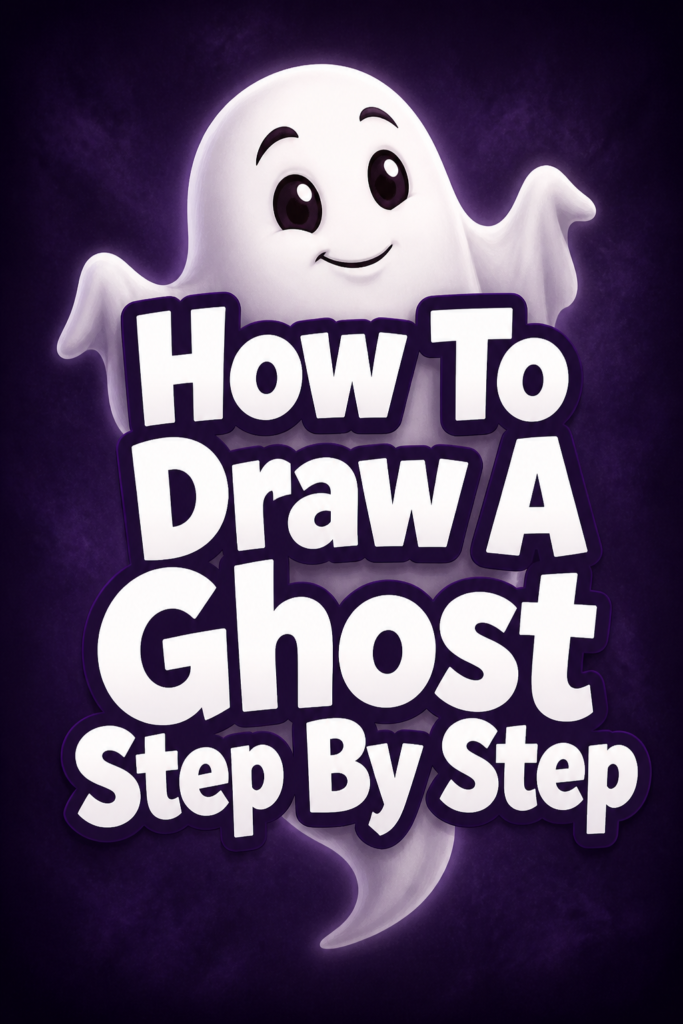
You’re about to create a delightful ghost drawing from scratch. We’ll cover everything from the initial sketch to adding personality.
By the end, you’ll have a finished piece you can proudly display.
- Time needed: 20-40 minutes
- Difficulty: Beginner
- What you’ll need: Pencil, eraser, paper, optional: black marker or pen, coloring supplies
Step-by-Step Instructions
Step 1: Sketch the Head Guide
Every great drawing starts with a basic shape to guide you. For our ghost, we’ll begin with a simple oval.
This oval will serve as the top part of your ghost’s head, defining its initial size and placement on the page.
Draw a light, elongated oval near the top center of your paper. Make sure it’s not too wide, as we’ll build the body downwards from here.
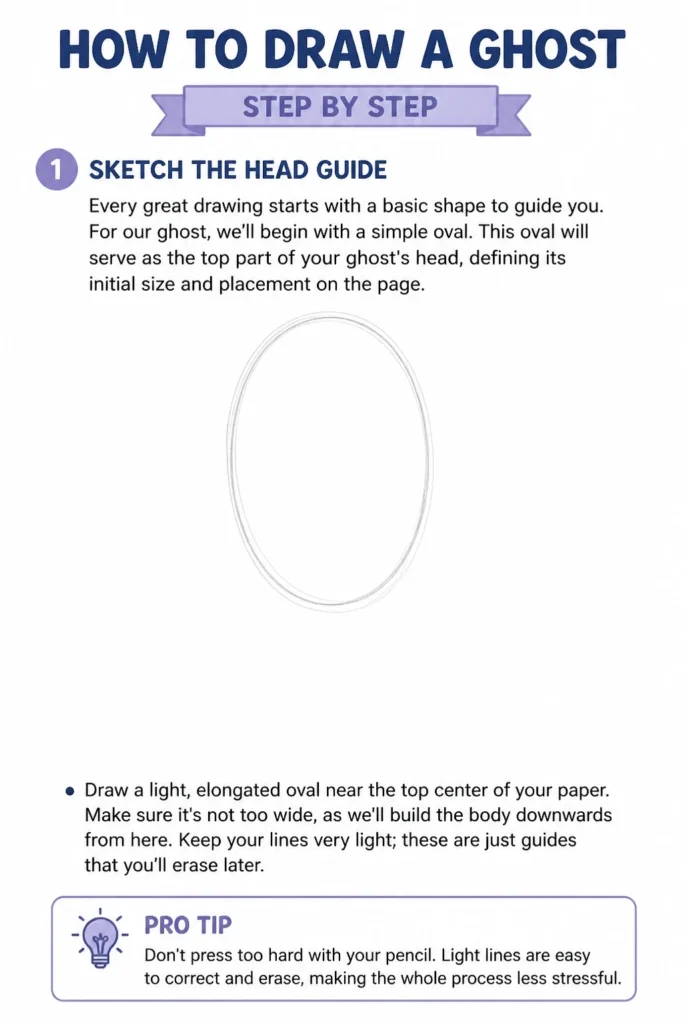
Keep your lines very light; these are just guides that you’ll erase later.
Pro Tip: Don’t press too hard with your pencil. Light lines are easy to correct and erase, making the whole process less stressful.
Step 2: Form the Ghost’s Body
Now let’s give our ghost some ethereal form. Ghosts often have a flowing, undefined lower body, resembling a sheet.
We’ll connect the head guide to create this classic, wavy shape.
From each side of your oval head guide, draw a gently curving line downwards. These lines should start fairly close to the bottom of the oval.
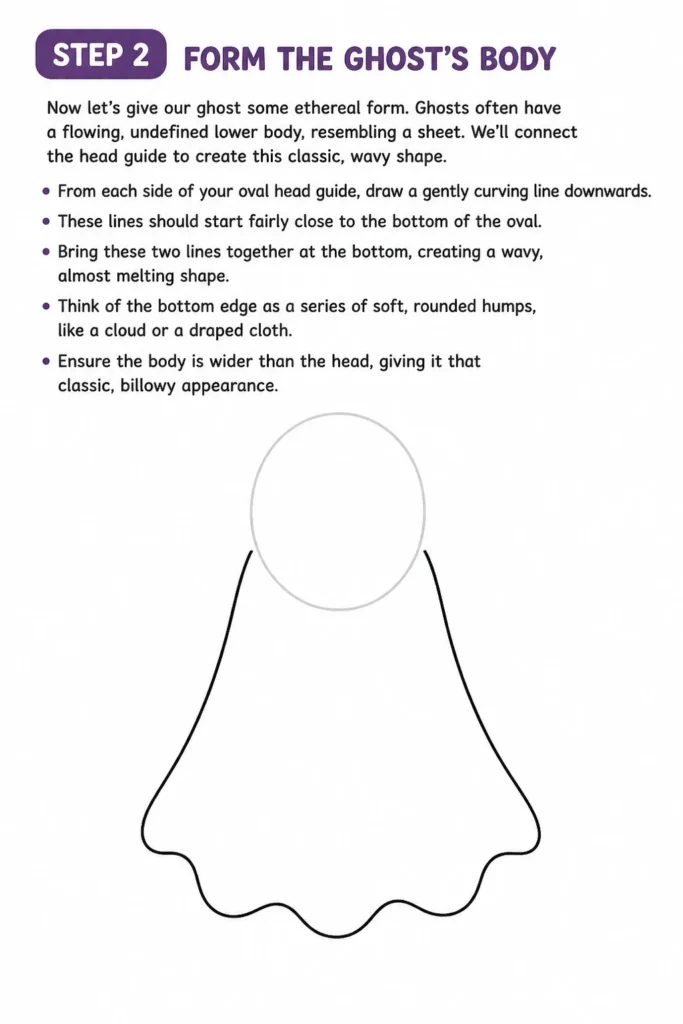
Bring these two lines together at the bottom, creating a wavy, almost melting shape. Think of the bottom edge as a series of soft, rounded humps, like a cloud or a draped cloth.
Ensure the body is wider than the head, giving it that classic, billowy appearance.
Step 3: Define the Arms (Optional, but Recommended)
Adding arms can give your ghost a lot of character and expression. You can make them long, short, wavy, or even reaching out.
We’ll go for a simple, friendly arm shape that matches the ghost’s flowing body.
Draw two short, curved lines extending outwards from the sides of the ghost’s body, just below the head. These will be the top edges of the arms.
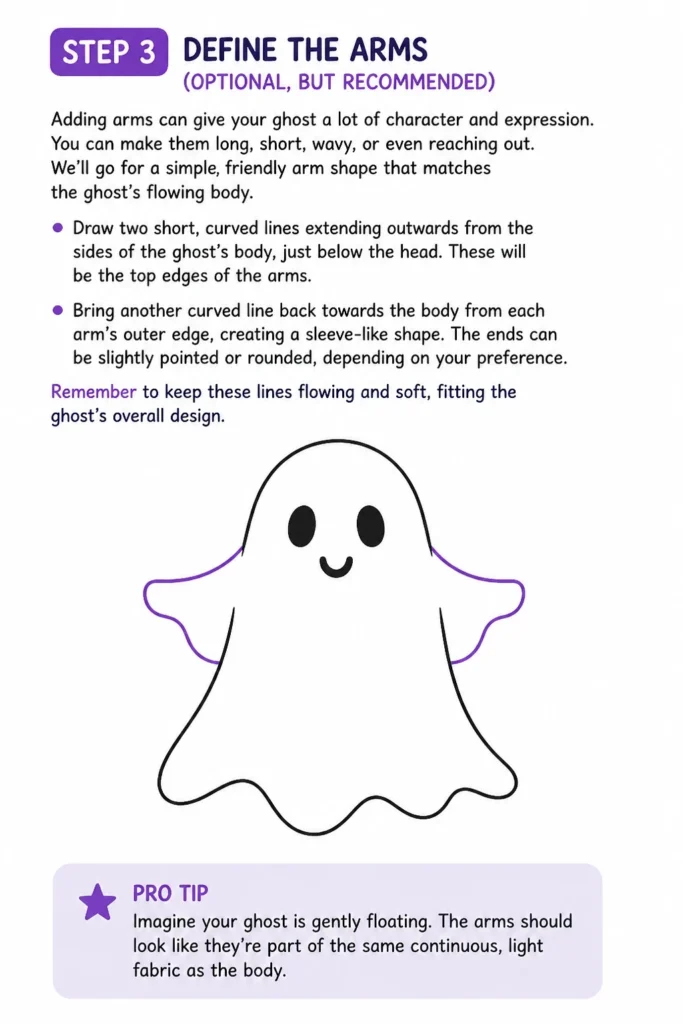
Bring another curved line back towards the body from each arm’s outer edge, creating a sleeve-like shape. The ends can be slightly pointed or rounded, depending on your preference.
Remember to keep these lines flowing and soft, fitting the ghost’s overall design.
Pro Tip: Imagine your ghost is gently floating. The arms should look like they’re part of the same continuous, light fabric as the body.
Step 4: Add the Facial Features: Eyes
The eyes are crucial for giving your ghost personality. They can be spooky, cute, sad, or surprised.
For our friendly ghost, we’ll draw two simple, expressive eyes.
Sketch two medium-sized circles within the head area of your ghost. Place them slightly above the center of the oval guide.
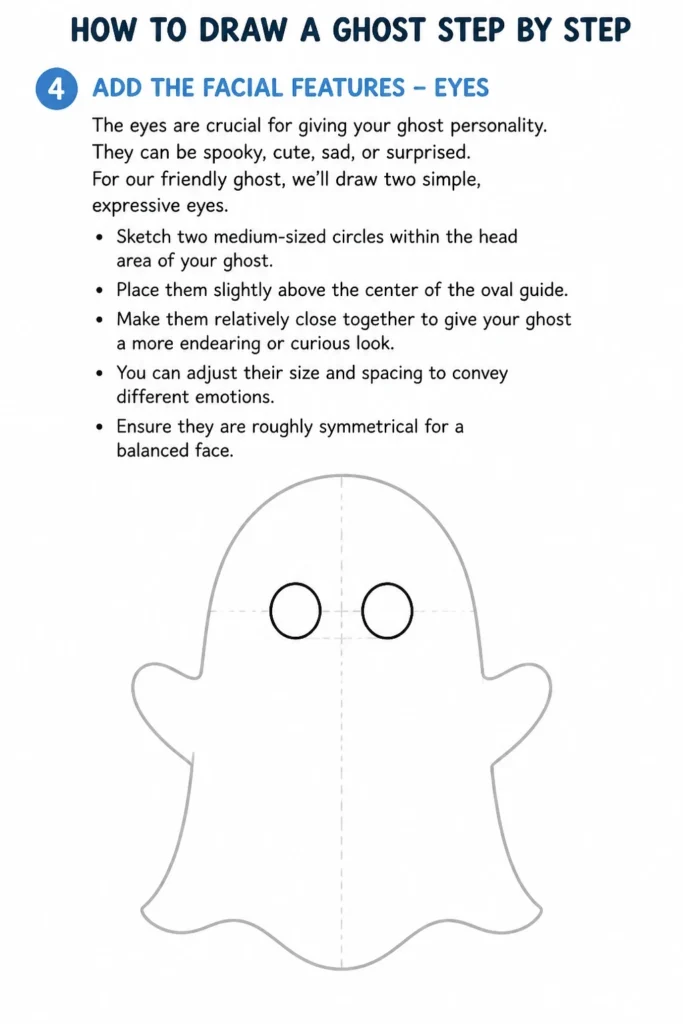
Make them relatively close together to give your ghost a more endearing or curious look. You can adjust their size and spacing to convey different emotions.
Ensure they are roughly symmetrical for a balanced face.
Step 5: Add the Facial Features: Mouth
A mouth completes the ghost’s expression. You have many options here: a wide grin, a small “ooh” shape, or even no mouth at all for a more mysterious vibe.
Let’s give our ghost a friendly, open mouth.
Draw an inverted “U” shape or a simple oval directly below the eyes. This will be your ghost’s open mouth.
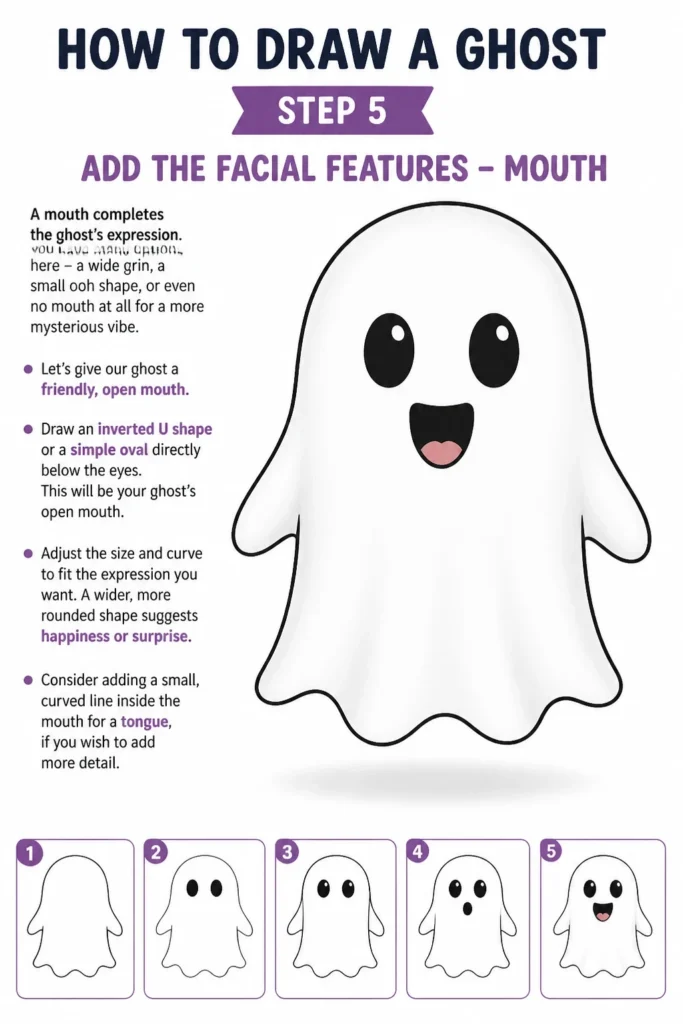
Adjust the size and curve to fit the expression you want. A wider, more rounded shape suggests happiness or surprise.
Consider adding a small, curved line inside the mouth for a tongue, if you wish to add more detail.
Step 6: Refine the Outline and Erase Guides
Now that you have all the main elements in place, it’s time to clean up your drawing. This step makes your ghost truly stand out.
You’ll darken the lines you want to keep and remove the initial sketch marks.
Carefully go over all the desired lines of your ghost with a darker pencil, pen, or marker. Make these lines smooth and confident.
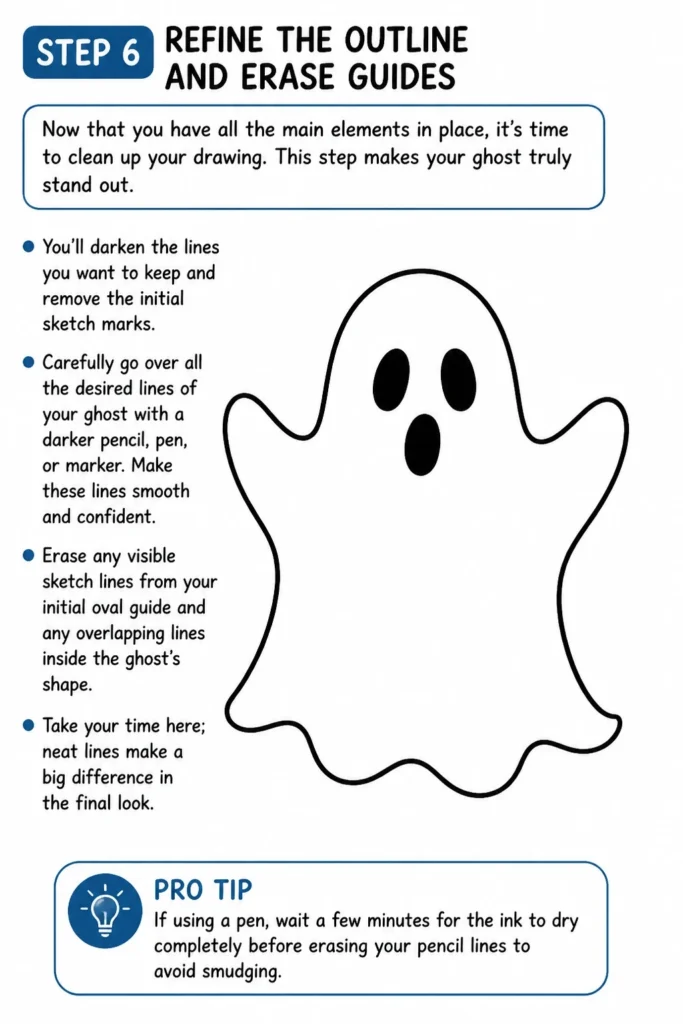
Erase any visible sketch lines from your initial oval guide and any overlapping lines inside the ghost’s shape.
Take your time here; neat lines make a big difference in the final look.
Pro Tip: If using a pen, wait a few minutes for the ink to dry completely before erasing your pencil lines to avoid smudging.
Step 7: Add Movement and Shading (Optional Details)
These extra touches can bring your ghost to life, suggesting it’s floating or made of a wispy material.
Shading adds depth and dimension.
Draw a few short, wavy lines trailing behind the ghost’s body, especially near the bottom. These lines indicate movement or a trailing ethereal presence.
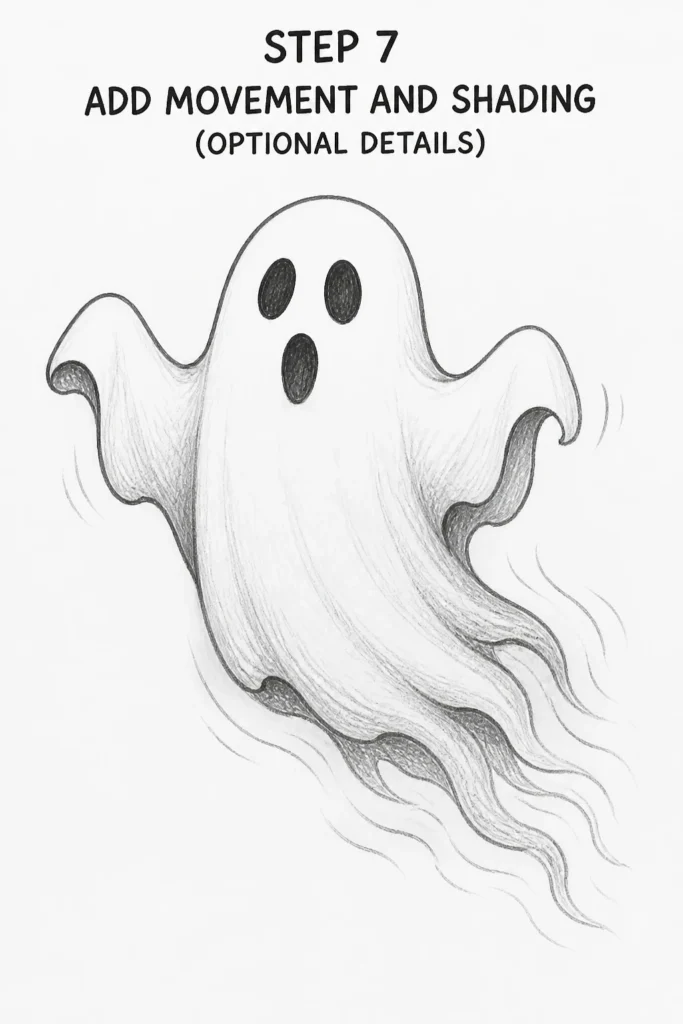
Consider adding very light shading to the bottom edges of the ghost’s body and arms. This creates a subtle sense of volume and depth.
Use cross-hatching or soft smudging with your pencil for a gentle effect.
Step 8: Color Your Ghost (Optional)
While ghosts are often white, adding color can make your drawing more vibrant or give it a unique personality.
You can stick to classic white or experiment with pastels.
Color your ghost, if desired. Traditional ghosts are white, but you could use a very light blue, purple, or green for a whimsical touch.
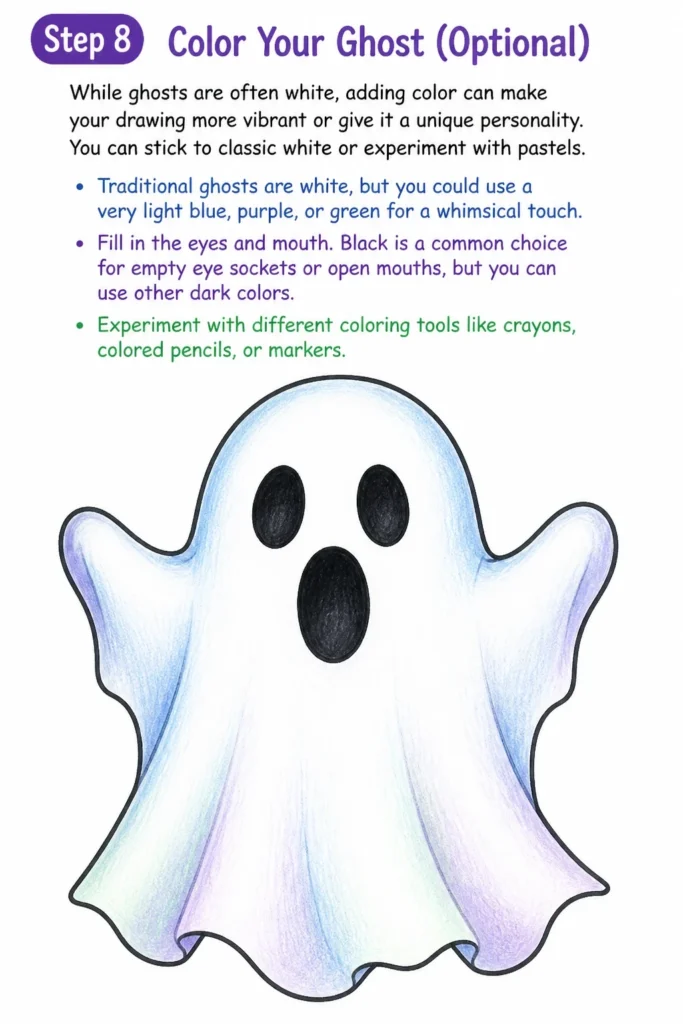
Fill in the eyes and mouth. Black is a common choice for empty eye sockets or open mouths, but you can use other dark colors.
Experiment with different coloring tools like crayons, colored pencils, or markers.
Step 9: Add a Simple Background (Optional)
A background can give your ghost a setting and complete the scene. Keep it simple so the ghost remains the focus.
A few quick elements can make a big impact.
Sketch a few simple background elements. This could be a spooky tree branch, a moon, or a few floating stars.
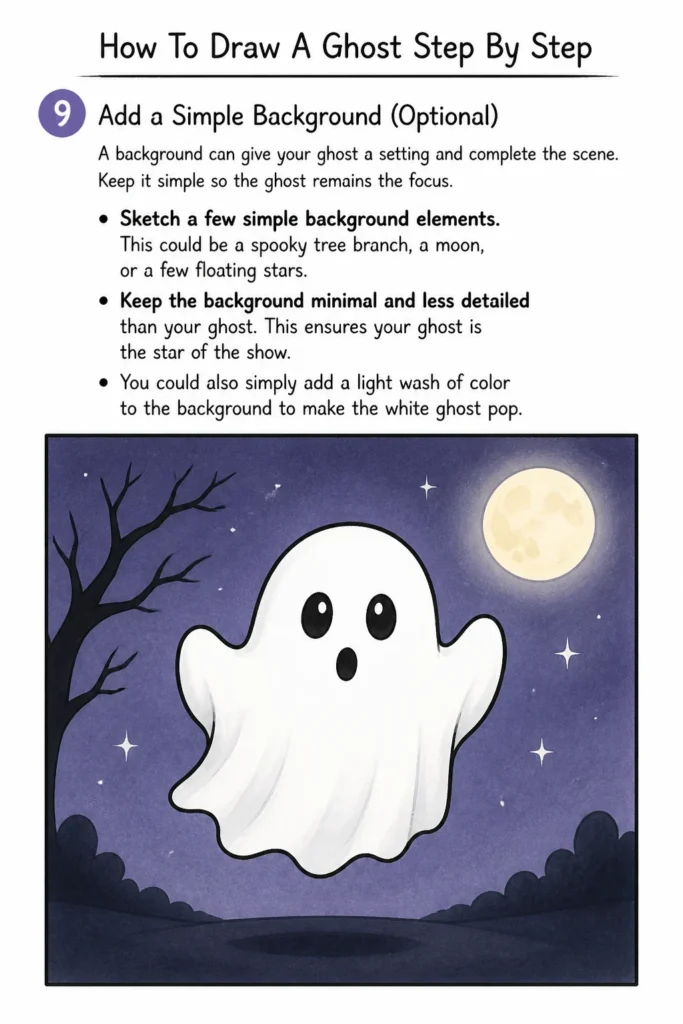
Keep the background minimal and less detailed than your ghost. This ensures your ghost is the star of the show.
You could also simply add a light wash of color to the background to make the white ghost pop.
Common Mistakes to Avoid
Drawing Too Dark Initially
Many beginners press too hard with their pencil when starting a drawing. This makes it incredibly difficult to erase guide lines later without leaving visible indentations or smudges on your paper.
Always begin with the lightest touch possible, using faint lines for your initial shapes. You can always darken the final lines once you’re happy with their placement and form. This approach saves you frustration and keeps your drawing clean.
Making the Ghost Too Symmetrical
While some symmetry is good for the face, a ghost’s body shouldn’t look perfectly mirrored. Ghosts are ethereal and flowing, often depicted with irregular, wavy bottom edges and slightly asymmetrical arm positions.
Embrace the organic nature of a ghost. Allow for natural curves and variations in the body and arm shapes. This gives your ghost a more dynamic and less stiff appearance, making it feel more alive – or rather, undead!
Over-detailing Early On
It’s tempting to jump straight to drawing intricate eyes or detailed shading. However, focusing on small details before the main structure is solid can lead to disproportionate or misplaced features.
Always establish the overall form and proportions first. Get the head, body, and general arm placement right. Once the basic silhouette is pleasing, then proceed to add facial features, movement lines, and shading. Build your drawing layer by layer.
Troubleshooting
My Ghost Looks Too Flat
If your ghost lacks a sense of volume and appears two-dimensional, it’s likely missing subtle depth cues. This often happens when you only use outlines without any internal details or shading.
To fix this, add very light, subtle shading along the bottom edges of your ghost’s body and arms. You can also include a few gentle, curved lines within the ghost’s form to suggest the draping of a sheet. These small additions create the illusion of roundness and depth.
The Facial Features Are Crooked or Misplaced
Getting eyes and mouths aligned correctly can be tricky, especially if you’re drawing freehand. Misplaced features can throw off the entire expression of your ghost.
Before drawing the final eyes and mouth, lightly sketch a vertical guide line down the center of your ghost’s head. Then, draw a light horizontal line across where the eyes will go. Use these guides to help you position the features evenly before darkening them.
My Ghost Doesn’t Look Like It’s Floating
If your ghost seems to be just sitting on the page rather than gracefully hovering, it might be due to a lack of implied motion. Static lines can make a ghost feel heavy.
Add subtle movement lines around the ghost, especially trailing behind its body. These are short, wavy lines that suggest motion. Also, ensure the bottom edge of your ghost is wavy and uneven, as if it’s gently swaying. A light shadow underneath can also help lift it from the “ground.”
Key Takeaways
- Start Simple: Begin with basic shapes like an oval for the head to establish proportion.
- Keep Lines Light: Use a light touch for initial sketches to make erasing easy.
- Embrace Flow: Allow for natural, wavy lines in the body and arms to create an ethereal look.
- Eyes Are Key: Focus on eye placement and shape to give your ghost personality and emotion.
- Refine Gradually: Darken your lines and erase guides only after the main structure is complete.
- Add Details Last: Incorporate shading, movement lines, and color as final touches to enhance your drawing.
Frequently Asked Questions
Can I draw a ghost without arms?
Absolutely! Many classic ghost depictions are just a head and a flowing body, like a simple sheet ghost. Omitting arms can give your ghost a more mysterious or minimalistic appearance. Feel free to skip Step 3 if you prefer this style.
What if my ghost looks too scary?
If your ghost looks more frightening than friendly, consider softening its facial features. Make the eyes larger and more rounded, and give it a gentle, open mouth instead of sharp or narrow shapes. A slightly tilted head can also convey a more curious or playful demeanor.
How can I make my ghost look transparent?
To suggest transparency, you can use very light, soft pencil strokes or watercolors that allow the paper to show through. If you’re drawing objects behind the ghost, draw them faintly, and then slightly overlap them with your ghost’s outline, making the ghost’s lines a bit darker where they cross.
Is it okay to use different colors for my ghost?
Of course! While white is traditional, art is about creativity. Light blues, purples, or even soft greens can give your ghost a unique, otherworldly glow. You could also experiment with gradient colors for an extra magical touch.
Our Top Recommended Finds
- Sketching Pencils Set: A good set with varying lead hardness (HB, 2B, 4B) allows for light sketching and darker outlines.
- Kneaded Eraser: This type of eraser is gentle on paper and picks up graphite without smudging or leaving crumbs, perfect for refining drawings.
- Fine-Tip Black Pen: For outlining your finished ghost, a waterproof fine-tip pen provides crisp, clean lines that won’t smudge when you color.
Your Canvas Awaits
You’ve now learned the simple secrets to drawing a charming ghost, from its initial form to its unique expression. This process is about building confidence, one line at a time, and seeing what you can create. Don’t let perfection be the enemy of progress.
Grab your pencil and paper today. Try drawing another ghost, perhaps a family of ghosts, or even a ghost with a tiny hat! Each drawing is a step forward in your artistic journey.
& Painting
No rigid rules or pretension. Just practical guides, medium comparisons, and encouraging tips to help you enjoy the drawing & painting process.