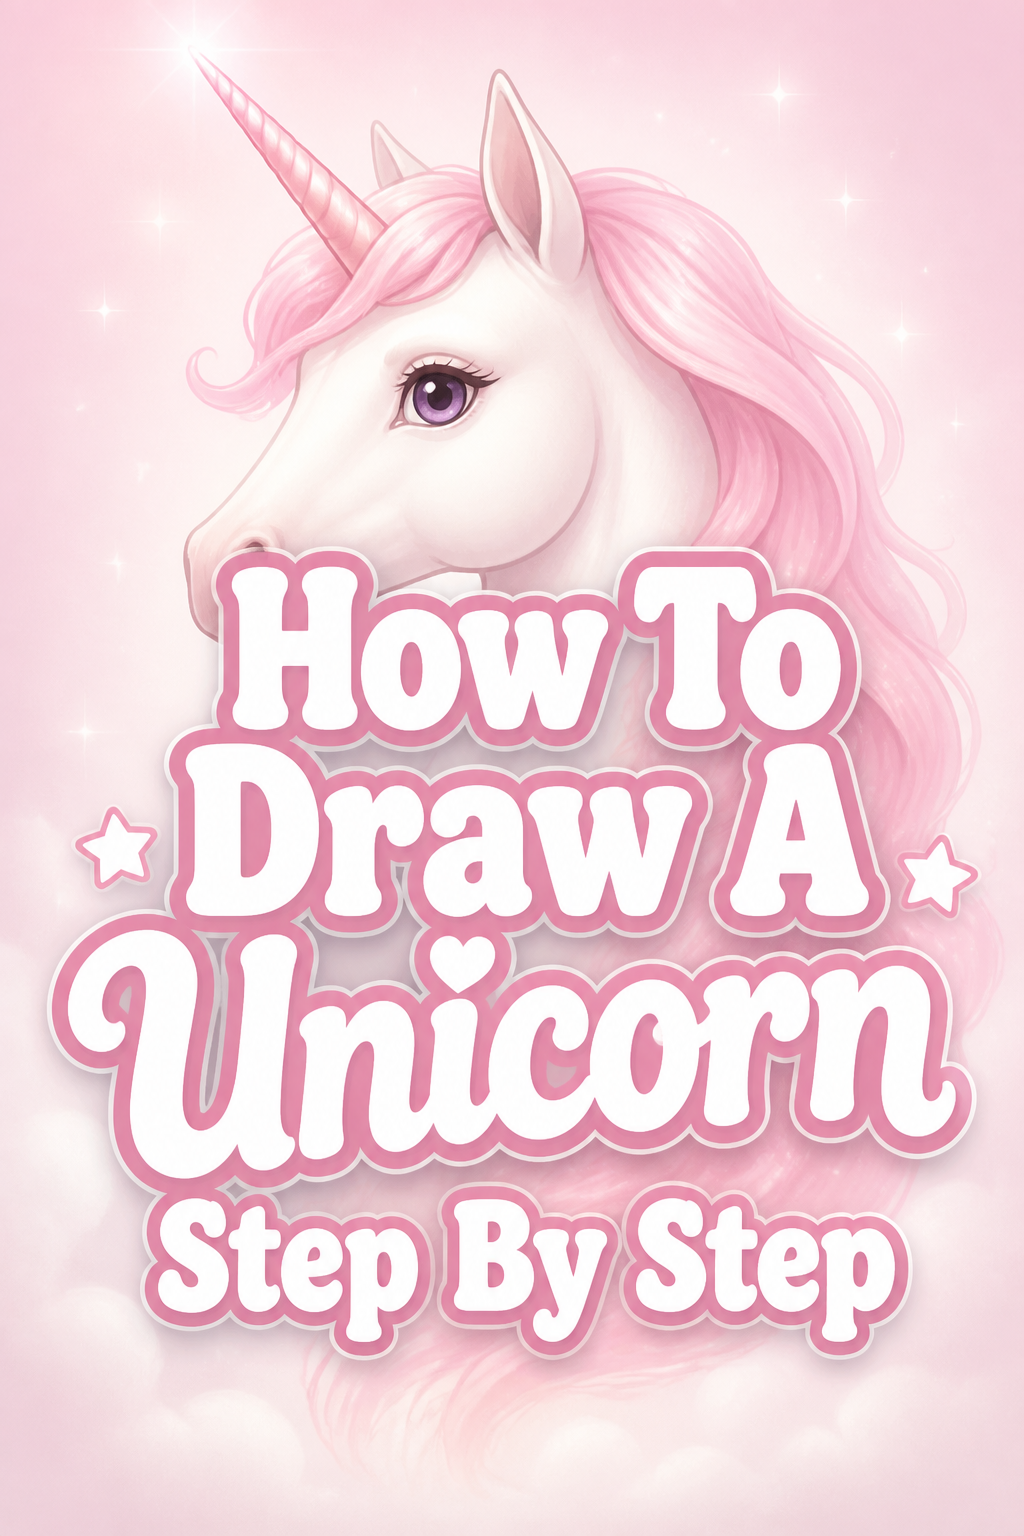
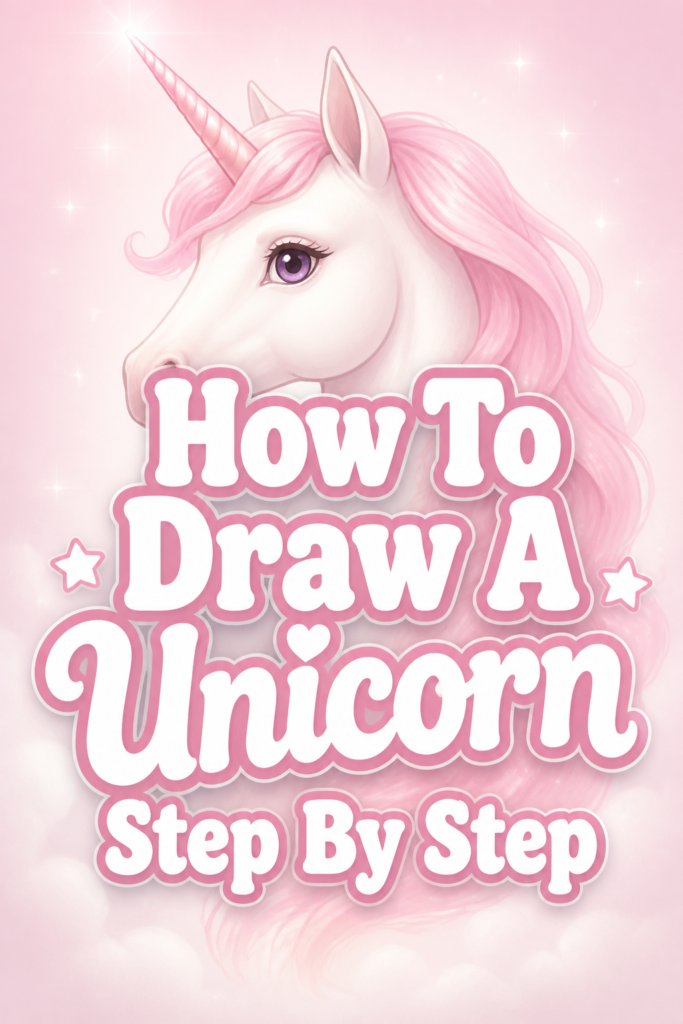
✨ How To Draw A Unicorn Step By Step

& Painting
No rigid rules or pretension. Just practical guides, medium comparisons, and encouraging tips to help you enjoy the drawing & painting process.
Have you ever dreamed of bringing a majestic unicorn to life on paper?
I remember my first attempt, a rather lopsided but heartfelt creation that sparked my love for fantasy art.
This guide shares the techniques I’ve learned, helping you create a beautiful unicorn with confidence.
Quick Overview
By following these steps, you will learn to construct a charming unicorn from basic shapes to intricate details.
You’ll finish with a complete drawing ready for coloring or display.
- Time needed: 45-75 minutes
- Difficulty: Beginner to Intermediate
- What you’ll need: Pencil, eraser, paper, optional: fine-liner, colored pencils/markers
Step-by-Step Instructions
Step 1: Establish the Basic Body Shapes
Start by lightly sketching the fundamental forms for your unicorn’s body. Draw two overlapping ovals for the chest and hindquarters.
These ovals don’t need to be perfectly round. They act as the core guides for the main mass of your unicorn’s body.
Next, connect these ovals with a gentle curve to form the spine. This line helps establish the overall pose and flow of your creature.
Add a smaller oval for the head, placing it where the neck will connect. Think of it as a bean shape.
Pro Tip: Use a very light touch with your pencil for these initial shapes. They are merely guidelines, and you will erase them as you refine your drawing. This prevents heavy lines from showing through later.
Step 2: Outline the Head and Neck
Now, let’s focus on defining the head. Refine the head oval into a more horse-like shape, tapering towards the muzzle.
Sketch a gentle curve from the back of the head oval down to the chest oval to form the neck. Unicorns often have elegant, slightly arched necks.
Draw a small, triangular ear at the top of the head, positioned slightly towards the back. You can add a second, partially visible ear behind it.
Place a small circle for the eye, roughly halfway down the side of the head. Leave room for the horn above the forehead.
Step 3: Shape the Legs and Hooves
Let’s give your unicorn its graceful legs. Draw four lines extending downwards from the body, indicating where each leg will be.
Add small circles or ovals for the joints – shoulders, elbows, hips, and knees. These help ensure correct proportions and articulation.
Flesh out the legs around these lines and joint markers, making them slender but strong. Remember that unicorn legs are similar to horse legs.
At the bottom of each leg, sketch small, slightly curved rectangles or trapezoids for the hooves. Ensure they are grounded on an imaginary line.
Step 4: Add the Majestic Horn
This is where your creature truly becomes a unicorn! Draw a cone-like shape extending from the forehead, just above the eyes.
The horn should be elegant and pointed, tapering upwards. You can make it as long or as short as you like.
To give it a magical, spiraled look, add delicate, curving lines that wrap around the horn. Start from the base and swirl them towards the tip.
These spirals are key to the classic unicorn aesthetic. They don’t have to be perfectly even.
Step 5: Define the Mane and Tail
Now, let’s give your unicorn flowing hair. Sketch a long, wavy mane starting from behind the ears and flowing down the neck.
Think about how hair would naturally fall, creating gentle curves and volume. You can make it wispy or thick.
For the tail, draw a long, sweeping shape extending from the hindquarters. It should be full and elegant, perhaps touching the ground.
Add individual strands and waves within both the mane and tail to give them texture and movement. This makes them look more realistic and dynamic.
Step 6: Refine the Body and Erase Guidelines
It’s time to bring your unicorn to life by cleaning up your sketch. Carefully erase all the initial construction lines and overlapping shapes.
Smooth out the contours of the body, legs, and neck. Connect all the parts seamlessly, creating a fluid silhouette.
Refine the muzzle, perhaps adding a nostril and a subtle mouth line. Make sure the eye looks expressive and gentle.
Take your time with this step, as it truly shapes the final appearance of your unicorn.
Step 7: Add Details and Finishing Touches
With the main form established, add the finer details. Draw the inner part of the ear for more depth.
Define the hooves with a clear outline. You can add subtle lines to suggest the texture of hair on the legs or a slight feathering near the hooves.
Enhance the eye with a pupil and perhaps a small highlight to make it sparkle. This adds character and life.
Finally, consider adding some magical elements like a subtle glow around the horn or tiny stars in the mane. These small touches elevate your drawing.
Pro Tip: If you plan to color your unicorn, now is the time to go over your pencil lines with a fine-liner pen. Let the ink dry completely before erasing any remaining pencil marks to avoid smudges.
Common Mistakes to Avoid
Rushing the Initial Sketch
Many beginners tend to rush through the initial basic shapes, leading to disproportionate or stiff-looking unicorns. The foundational ovals and lines are crucial.
Take your time to get these guides right. They dictate the overall structure and pose, making the rest of the drawing process much smoother.
Ignoring Anatomy Basics
Even though it’s a fantasy creature, a unicorn still benefits from understanding basic horse anatomy. Neglecting joints or leg structure can make the unicorn look unnatural.
Observe how horse legs bend and connect to the body. Applying these principles, even loosely, will give your unicorn a more believable and graceful form.
Overworking the Horn
Sometimes artists try to make the horn too intricate or heavy, which can detract from the unicorn’s elegance. A horn that is too thick or short can look out of place.
Aim for a slender, upward-tapering horn with delicate, spiraling lines. Keep it proportionate to the head and body for a balanced look.
Flat Mane and Tail
Drawing the mane and tail without volume or movement can make them appear flat and lifeless. They are key to conveying the unicorn’s ethereal quality.
Think about gravity and wind. Use flowing, curved lines and overlap strands to create depth and a sense of motion, making them look soft and voluminous.
Troubleshooting
My Unicorn Looks Stiff and Unnatural
If your unicorn appears rigid, it’s likely due to straight lines and rigid angles in the initial sketch. Unicorns, like horses, have flowing curves.
Go back to Step 1 and focus on softer, more organic ovals and S-curves for the body and neck. Exaggerate the natural arch of the neck and the gentle bend of the legs. Practice drawing loose, flowing lines before connecting them.
The Legs Are Uneven or Too Short/Long
Disproportionate legs often stem from not using consistent guides for length and joint placement. It’s easy to lose track when drawing freehand.
Try drawing a light horizontal line for the ground plane first. Then, use vertical lines from the body to ensure all legs start at a similar height. Use small circles for joints to help align them symmetrically.
The Horn Doesn’t Look Spiraled
Creating a convincing spiral can be tricky. Sometimes the lines are too straight or don’t wrap around the cone shape effectively.
Imagine the horn as a 3D cylinder. The spiral lines should curve both upwards and around the form. Practice drawing a simple cone and then adding curved lines that gradually ascend and appear to go behind the horn, then reappear.
Key Takeaways
- Start with simple shapes: Ovals and curves are your best friends for building a solid foundation.
- Focus on flow and grace: Unicorns are elegant creatures; emphasize fluid lines in their body, neck, mane, and tail.
- Pay attention to proportions: Keep the head, body, and legs balanced, referring to horse anatomy for guidance.
- Embrace the horn: Make the horn slender and delicate, adding gentle spirals for that magical touch.
- Refine and detail: Take your time to clean up lines and add small touches that bring your unicorn to life.
- Practice makes perfect: Don’t be afraid to try again. Each drawing improves your skills.
Frequently Asked Questions
What kind of pencil should I use?
For initial sketches, a lighter pencil like an HB or 2H is excellent as it allows for easy erasing. For refining and darker lines, a B or 2B pencil works well.
How can I make my unicorn look more magical?
Beyond the horn, consider adding elements like a flowing, ethereal mane and tail, soft glowing effects around the horn or hooves, or even subtle patterns on its coat. Expressive eyes also add to the magic.
Can I draw a unicorn in a different pose?
Absolutely! Once you’re comfortable with the basic standing pose, experiment by adjusting the initial ovals and spine curve. A rearing unicorn or one in motion starts with dynamic foundational shapes.
What if my drawing doesn’t look perfect?
That’s perfectly normal! Every artist, no matter their skill level, makes drawings that aren’t “perfect.” The goal is to enjoy the process and learn from each attempt. Keep practicing, and you’ll see amazing progress.
Our Top Recommended Finds
- Sketching Pencils Set: A good set with varying lead hardness (2H-6B) provides versatility for light sketching and dark detailing.
- Kneaded Eraser: This type of eraser is excellent for lifting pencil marks without damaging the paper or leaving crumbs, perfect for refining your lines.
- Smooth Drawing Paper: Opt for paper with a smooth surface, like Bristol board or good quality sketch paper, which allows pencils to glide easily and prevents smudging.
Unleash Your Inner Artist
You’ve now walked through every step of drawing a beautiful unicorn, from basic shapes to enchanting details.
The magic isn’t just in the creature you’ve drawn, but in the skill you’ve gained and the creativity you’ve expressed.
Why not try drawing another unicorn with a different pose or adding a fantastical background? Your artistic journey has just begun.
& Painting
No rigid rules or pretension. Just practical guides, medium comparisons, and encouraging tips to help you enjoy the drawing & painting process.