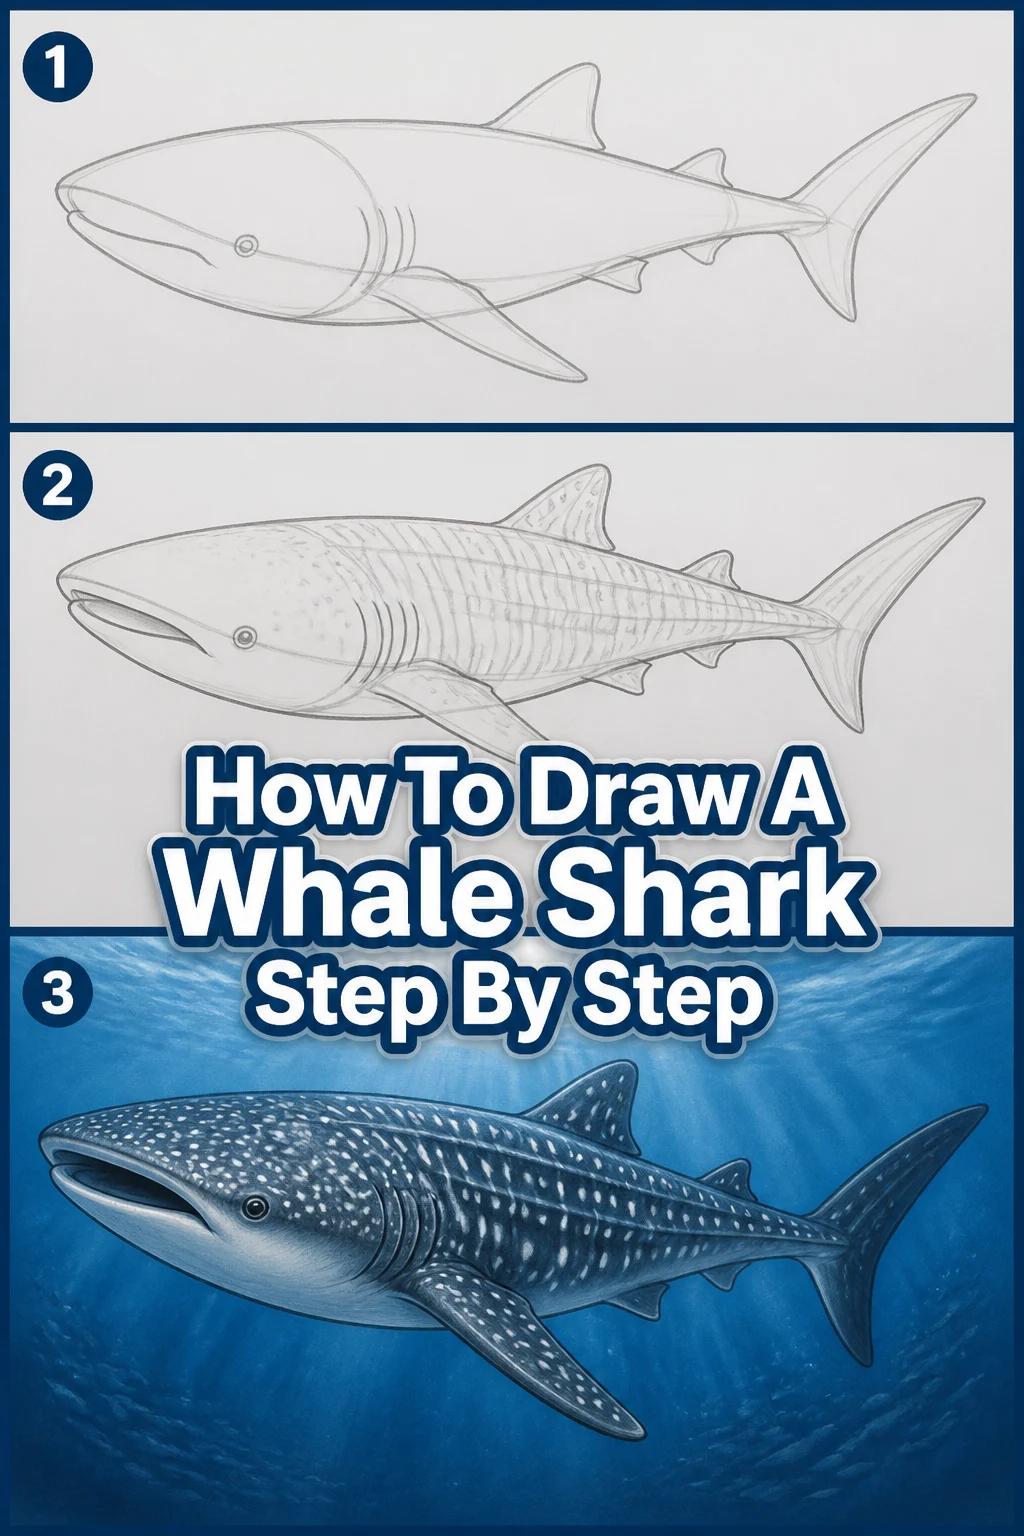
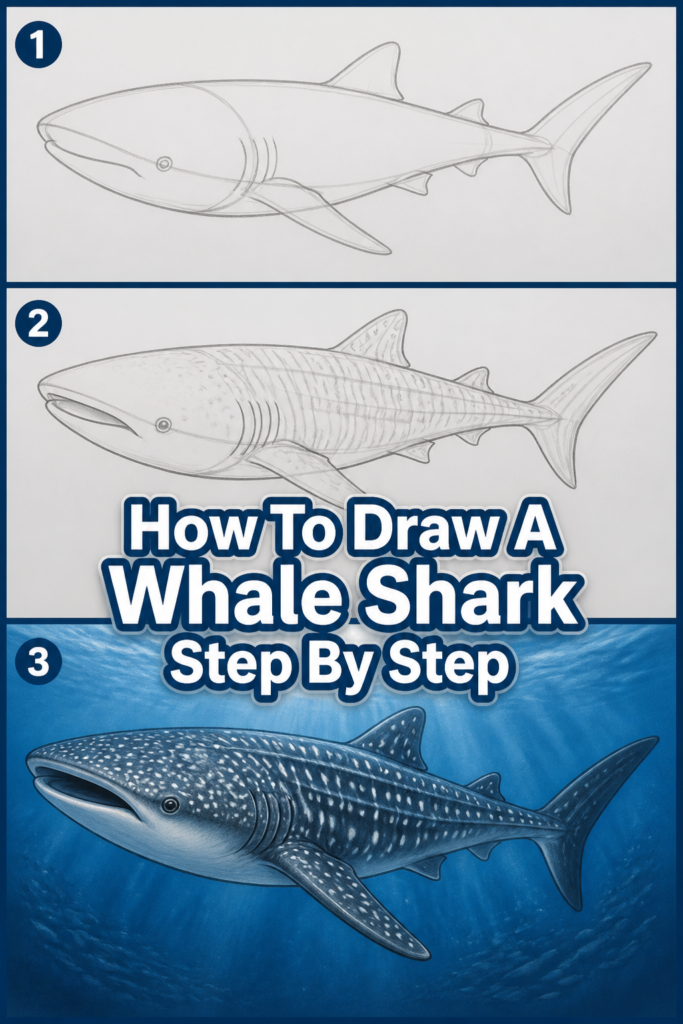
🦈 How To Draw A Whale Shark Step By Step
I remember the first time I saw a whale shark on a documentary; its majestic size and gentle nature instantly captivated me. Drawing one felt like a way to connect with that wonder. This guide is built from my own experience, breaking down the process into manageable steps.
You can absolutely create a stunning whale shark drawing, even if you’re just starting out. I’ll share all the practical tips I’ve learned along the way.
Quick Overview
This guide will walk you through creating a detailed drawing of a whale shark, from initial sketches to final shading. You’ll learn to capture its distinctive shape, markings, and gentle presence.
By the end, you’ll have a complete drawing and a deeper understanding of drawing techniques.
Time needed: 60-90 minutes
Difficulty: Intermediate
What you’ll need: Sketching pencils (HB, 2B, 4B), eraser, drawing paper, a reference image of a whale shark.
Step-by-Step Instructions
Step 1: Gather Your Creative Tools
Before diving into the drawing process, ensure you have all your materials ready and organized. A tidy workspace helps clear your mind and focus on the task ahead.
Lay out your pencils, eraser, and paper. Find a good quality reference image of a whale shark; this is crucial for accuracy.
Pro Tip: Choose a reference image that clearly shows the whale shark’s body shape, fin placement, and spot patterns. A clear, well-lit photo will be your best friend.
Step 2: Sketch the Basic Body Shape
Begin by lightly sketching the fundamental form of the whale shark’s body. Think of it as building a skeleton before adding muscle and skin.
Draw a large, elongated oval for the main body section. This oval should taper slightly towards the tail. Add a slightly wider, rounded shape at one end for the head, connecting it smoothly to the body.
Step 3: Define the Fins and Tail
Now it’s time to give your whale shark its distinctive swimming apparatus. These elements help define its posture and movement.
Sketch the two large pectoral fins located on either side of the body, just behind the head. They are broad and somewhat triangular. Add the dorsal fin on the shark’s back, usually a single, prominent fin.
Draw the caudal (tail) fin, which is crescent-shaped and powerful. Ensure it balances the overall composition, giving the shark a sense of propulsion.
Step 4: Shape the Head and Mouth
The whale shark’s head is unique, featuring a wide, flat snout and a massive mouth. Capturing this accurately is key to its identity.
Refine the head shape, making it flatter and broader at the front. Sketch the wide, terminal mouth, positioned at the very front of the head. It should be quite large, reflecting its filter-feeding nature.
Add the small, dark eyes, positioned towards the sides of the head. They are surprisingly tiny compared to its massive body.
Pro Tip: Pay close attention to the angle of the head in your reference photo. This will influence the perspective of the mouth and eyes.
Step 5: Add Gills and Distinctive Markings
These details bring your whale shark to life, adding realism and character. The gill slits and spot patterns are iconic features.
Draw five prominent gill slits on each side of the head, just behind the pectoral fins. These are usually long and vertical. Begin to lightly map out the unique spot and stripe patterns that cover the whale shark’s body.
Use a varied approach for the spots – some larger, some smaller, some clustered. Also, note the lighter lines that often run horizontally across its body.
Step 6: Refine Outlines and Details
With the basic structure and major features in place, it’s time to clean up and enhance your drawing. This step solidifies your whale shark’s form.
Go over your initial light sketches with a slightly firmer hand, using your HB pencil to create cleaner, more defined outlines. Erase any unnecessary construction lines or stray marks.
Add subtle details like the slight texture of the skin or minor folds around the fins. Think about how light might hit its body.
Step 7: Introduce Shading and Depth
Shading transforms your flat drawing into a three-dimensional form, giving it volume and realism. This is where your darker pencils come in handy.
Identify your light source and begin to apply shading to create highlights and shadows. The underside of the whale shark is typically lighter, while the upper body and areas facing away from the light are darker. Use your 2B and 4B pencils for deeper shadows and to add texture to the skin.
Blend your shading gently to create smooth transitions. This helps the whale shark appear round and powerful.
Pro Tip: Don’t just shade uniformly. Vary your pencil pressure to create different tonal values and imply depth. Layering your graphite lightly builds up rich, smooth shading.
Step 8: Final Touches and Enhancements
The final step involves adding those last details that make your drawing truly pop. These small additions can make a big difference.
Add any final highlights with your eraser to make certain areas stand out, like the gleam on the skin or the edges of fins. Consider adding a subtle background element, such as water ripples or faint underwater light, to give context to your whale shark.
Review your entire drawing. Make any minor adjustments to proportions or shading that feel necessary.
Common Mistakes to Avoid
Incorrect Proportions
One of the most frequent errors is getting the whale shark’s proportions wrong. A common mistake is making the head too small or the body too slender, which makes the shark look less majestic and powerful.
Always start with basic shapes and continually compare them to your reference image. Ensure the head is broad and flat, and the body is robust and tapering, not skinny.
Random Spot Patterns
Simply scattering dots across the body will make your whale shark look less authentic. Whale sharks have a complex, almost grid-like pattern of spots and lighter horizontal lines.
Take the time to observe the pattern in your reference. Notice how spots vary in size and how they often align with the lighter stripes, creating a natural, organic look. Layering spots also helps.
Flat Shading and Lack of Depth
A drawing can look very two-dimensional if shading isn’t applied correctly. If you shade evenly across the entire form, the whale shark will appear flat rather than rounded and voluminous.
Remember to establish a clear light source. Apply darker values to areas in shadow and lighter values to areas receiving direct light. Blending helps create smooth transitions and a sense of depth.
Ignoring Reference Images
While drawing from imagination is great, for an accurate representation of a whale shark, relying solely on memory can lead to inaccuracies. Details like fin placement, gill number, or mouth shape can easily be overlooked.
Always keep your reference image visible and consult it frequently throughout the drawing process. It’s a guide, not a crutch, and it will ensure your drawing is anatomically correct and convincing.
Troubleshooting
My shark looks stiff and unnatural.
If your whale shark appears rigid or lacks a sense of movement, it often stems from stiff initial lines. You might have drawn the body as a perfect, straight oval without considering the gentle curves of a swimming creature.
Try to use more flowing, gestural lines in your initial sketch. Think about the natural curve of a spine and the slight undulation of the body as it moves through water. Exaggerate subtle curves slightly to create dynamism.
The spot patterns don’t look right.
Getting the distinctive spot patterns can be tricky. If they look too uniform, too sparse, or too dense, they won’t capture the whale shark’s unique aesthetic.
Go back to your reference image and really study the pattern. Notice how the spots are not perfectly round and vary in size. Some areas might have clusters, while others have more distinct, spaced-out spots. Layer smaller dots over larger ones for depth.
My drawing lacks dimension and volume.
This usually points to an issue with your shading technique. If you’re not seeing a clear difference between light and shadow, your drawing will appear flat.
Re-evaluate your light source. Push your darkest shadows further using a 4B or 6B pencil, and ensure your highlights are truly bright (using an eraser). The contrast between these extremes is what creates the illusion of three-dimensionality. Experiment with blending techniques to smooth out transitions.
Key Takeaways
Start with basic shapes: Build your whale shark from simple ovals and lines to establish correct proportions.
Utilize reference images: Always keep a clear photo handy for accurate details like fin placement and spot patterns.
Observe unique features: Pay close attention to the broad head, wide mouth, and five gill slits that define a whale shark.
Layer your spot patterns: Don’t just draw uniform dots; vary their size and density, often aligning them with lighter stripes.
Master shading for depth: Use a range of pencil hardnesses to create contrast between light and shadow, giving your drawing volume.
Practice patience: Drawing intricate details and smooth shading takes time and careful observation. Enjoy the process!
Frequently Asked Questions
What’s the best pencil to start sketching with?
An HB pencil is ideal for initial sketches. It’s light enough to erase easily without leaving deep indentations, allowing you to make adjustments freely. You can then move to darker pencils for refining and shading.
How do I make the spots look natural and not just like dots?
To make spots look natural, avoid perfect circles. Vary their size and shape slightly, and don’t make them all uniformly dark. Some spots might be partially obscured by the shark’s body curves. Also, remember the lighter horizontal lines that often run through the spot patterns.
Can I draw a whale shark with colored pencils?
Absolutely! While this guide focuses on graphite, the principles of proportion, shape, and shading apply directly to colored pencils. You’ll use different shades of blue-gray, white, and black to build up the color and form. Layering colors will be key for depth.
How can I add a background to my whale shark drawing?
For a simple background, you can suggest water by adding subtle wavy lines or light, gradient shading that gets darker further from the shark. For a more detailed approach, consider faint coral reefs or distant schools of fish, but keep them less defined than the whale shark so it remains the focal point.
Our Top Recommended Finds
Derwent Graphic Pencils (Set of 12): A comprehensive set offering a range of hardness from 6B to 4H, perfect for all stages of sketching and shading.
Strathmore 400 Series Sketch Pad: A reliable, acid-free paper with a good tooth, ideal for graphite drawings and holding multiple layers of pencil.
Kneaded Eraser: Essential for lifting graphite gently, creating highlights, and cleaning up without damaging the paper surface.
Your Artistic Journey Continues
Drawing a whale shark is a rewarding experience, allowing you to connect with nature’s artistry. Each line you draw and every shade you apply brings this magnificent creature to life on your paper.
Don’t let your artistic adventure stop here. Try drawing other marine animals, experiment with different perspectives, or even add a vibrant underwater scene. Pick up your pencil again today and let your creativity flow!