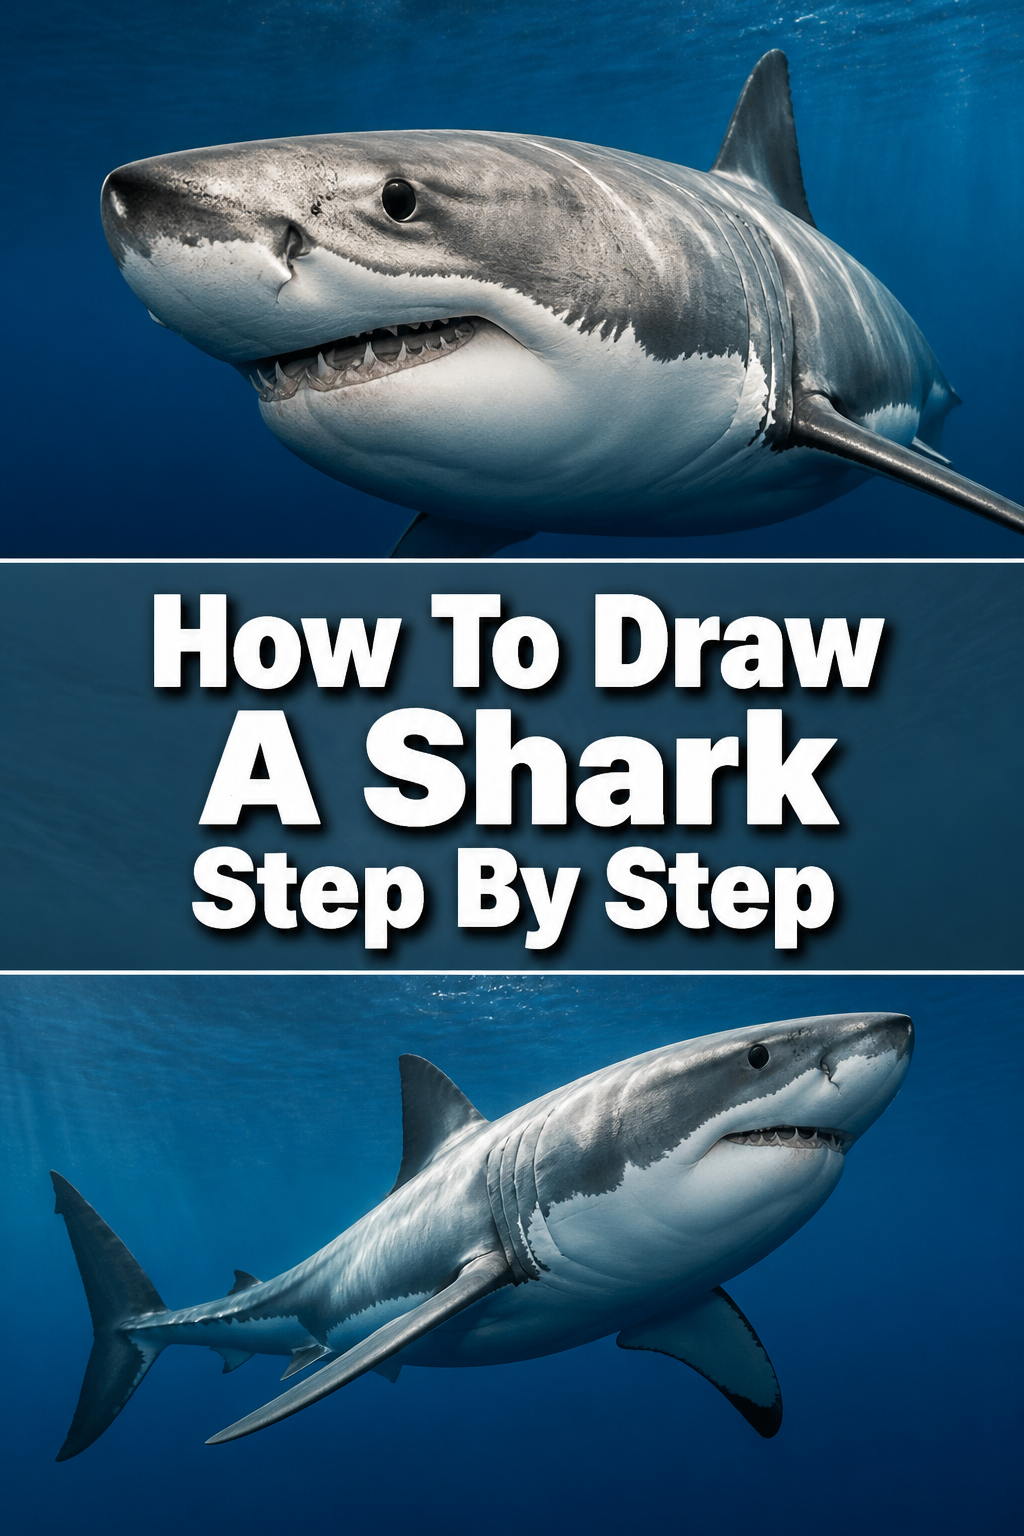
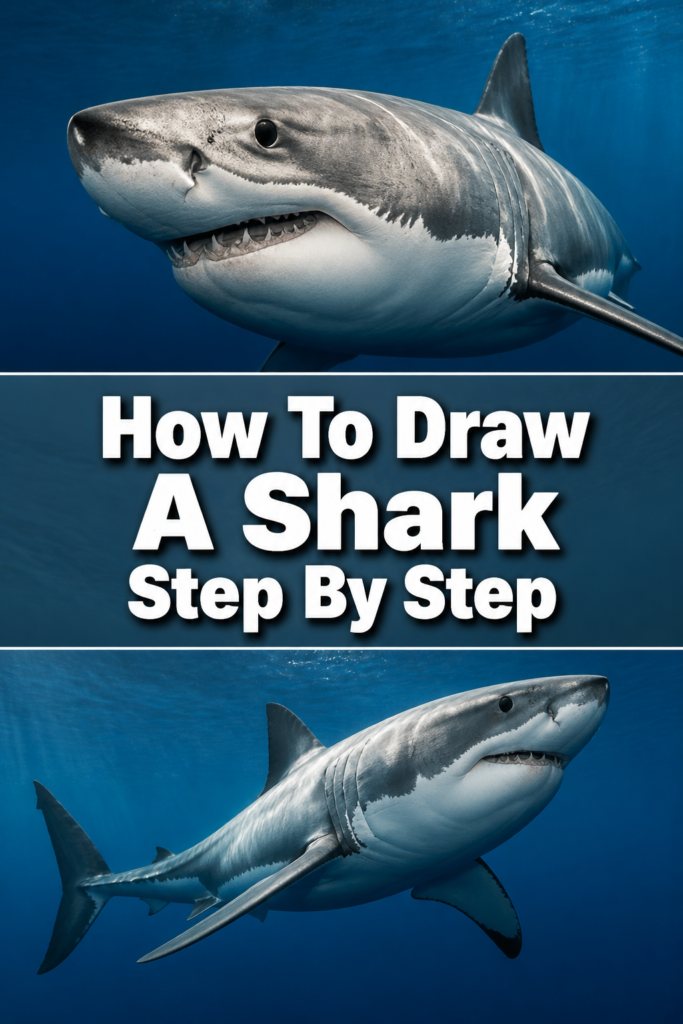
🦈 How To Draw A Shark Step By Step

& Painting
No rigid rules or pretension. Just practical guides, medium comparisons, and encouraging tips to help you enjoy the drawing & painting process.
Have you ever wanted to capture the power and grace of a shark on paper?
It might seem intimidating at first, but with the right guidance, anyone can draw this magnificent creature.
I’ve spent countless hours sketching marine life, and I’m excited to share a simple, effective method that works every time.
Quick Overview
This guide will walk you through the process of drawing a shark from basic shapes to detailed finishes. You’ll learn how to build your drawing layer by layer, ensuring a solid foundation.
By the end, you’ll have a striking shark drawing you can be proud of, along with the skills to tackle other complex subjects.
- Time needed: 45-60 minutes
- Difficulty: Beginner to Intermediate
- What you’ll need: Pencil (HB, 2B), paper, eraser, optional blending stump
Step-by-Step Instructions
Step 1: Sketch the Basic Body Shape
Begin by lightly sketching the fundamental form of the shark’s body. Think of it as a long, slightly tapered cylinder or a thick, elongated teardrop shape.
This initial shape will establish the overall length and bulk of your shark. Make sure your lines are very light, as these are just guides that will be refined later.
Consider the direction the shark is facing. A gentle curve can add a sense of movement and dynamism to your drawing.
Pro Tip: Hold your pencil further back from the tip for lighter, looser strokes. This helps prevent pressing too hard too early.
Step 2: Define the Head and Tail
Refine the head area, giving it a more distinct, rounded snout. Sharks typically have a somewhat flattened, blunt head shape.
Then, define the base of the tail, known as the caudal peduncle. This section is usually narrower and powerful, connecting to the large tail fin.
Ensure these elements flow naturally from the main body shape. Avoid making them look like separate attachments.
Step 3: Add the Fins
Draw the primary fins that give the shark its iconic silhouette. Start with the large dorsal fin on the back, typically triangular and prominent.
Next, add the two pectoral fins, which extend from the sides of the body, just behind the head. These are often long and wing-like.
Finally, sketch the caudal fin (tail fin). This is usually a powerful, crescent or lunate shape, providing propulsion.
Don’t forget the smaller pelvic fins near the belly and the anal fin, which is typically smaller and located further back.
Pro Tip: Study reference images of different shark species. Fins vary greatly in size and shape, influencing the overall look.
Step 4: Outline the Mouth and Gills
Position the mouth on the underside of the snout, typically in a crescent or slightly curved line. Sharks have mouths that are usually set back from the very tip of their nose.
Then, draw the gill slits. Most sharks have five to seven gill slits on each side, located just behind the head and in front of the pectoral fins.
Keep these details relatively simple for now. We will add more definition in later steps.
Step 5: Detail the Eyes and Nostrils
Place the eye on the side of the head, usually a small, dark circle. The eye often has a slightly menacing or watchful quality.
Add a small highlight to the eye to give it life and depth. This small detail can make a big difference.
Sketch the nostrils, which are usually small openings located on the underside of the snout, near the front. These are for sensing, not breathing.
Step 6: Add Teeth and Refine Outlines
Draw the rows of sharp teeth inside the mouth. Sharks have multiple rows, but you only need to show the most prominent ones.
Each tooth is typically a sharp triangle. Vary their sizes slightly for a more natural look.
Now, carefully go over all your preliminary sketch lines, making your final outlines darker and more confident. Erase any stray or unnecessary guide lines.
Step 7: Introduce Shading and Texture
Begin shading to give your shark form and dimension. Sharks are generally darker on top and lighter underneath, a form of camouflage called countershading.
Use a softer pencil (like 2B) to apply darker tones to the dorsal side and blend them downwards.
Add subtle texture to the skin, which isn’t perfectly smooth. Small, overlapping scales or a slightly grainy effect can enhance realism.
Consider the light source and how it would hit the shark’s body, creating highlights and shadows.
Pro Tip: Use a blending stump or a clean finger to smooth out your graphite shading. This creates a more seamless transition between tones.
Step 8: Final Details and Adjustments
Review your entire drawing. Are the proportions correct? Does the shark look powerful and dynamic?
Add any final details, such as scars, subtle fin markings, or reflections in the eye.
Make any last-minute adjustments to shading or line work. A final pass with an eraser can clean up edges and enhance highlights.
Common Mistakes to Avoid
Incorrect Proportions
One common pitfall is making parts of the shark disproportionate. For instance, a head that is too small or fins that are out of scale with the body can make the shark look unnatural.
Always start with basic shapes to establish overall proportions before adding details. Constantly compare the size of different body parts to each other as you draw.
Stiff, Lifeless Pose
Many beginners draw sharks in a very rigid, straight line. This often results in a drawing that lacks energy and movement.
Introduce a gentle curve to the body and tail from the very first sketch. This simple change will instantly make your shark appear more dynamic and alive, as if it’s gliding through water.
Over-detailing Too Early
Jumping straight into drawing individual teeth or intricate fin textures before the main form is solid is a common error. This can lead to a messy drawing where details don’t fit the overall shape.
Build your drawing in layers: basic shapes first, then major features, then finer details. This methodical approach ensures your foundation is strong before you add the finishing touches.
Flat Shading
Applying uniform shading across the entire shark without considering light and shadow makes the drawing appear flat and two-dimensional. Sharks are three-dimensional creatures.
Remember countershading – darker on top, lighter underneath. Think about where your light source is coming from and how it would create highlights and cast shadows on the shark’s body.
Troubleshooting
My Shark Looks Too Stiff
If your shark appears rigid, it likely means you started with too straight a line for the body. The initial gesture is crucial for conveying movement.
Try restarting with a very loose, curved line for the spine. Even a slight S-curve can add immense dynamism. Think about the natural flow of a swimming creature.
The Fins Don’t Look Right
Fins can be tricky due to their varied shapes and angles. If they seem off, you might be drawing them too flat or in the wrong position.
Refer to real shark images for fin placement and curvature. Remember that fins have thickness and often a slight curve, not just a flat outline. Pay attention to how they attach to the body.
My Shading Isn’t Smooth
Patchy or uneven shading often comes from pressing too hard in some areas and not enough in others, or using a pencil that’s too hard for blending.
Start with very light layers and build up the tone gradually. Use a softer pencil (like 2B or 4B) for darker areas and a blending tool (stump, tissue, or cotton swab) to smooth transitions.
Key Takeaways
- Start with basic shapes: Establish the shark’s fundamental form and proportions first.
- Prioritize movement: Introduce subtle curves early on to give your shark a dynamic, lifelike pose.
- Layer your details: Build your drawing step-by-step, adding major features before fine details.
- Master shading: Utilize countershading and consider light sources to give your shark depth and realism.
- Practice makes perfect: Don’t be afraid to experiment and draw multiple sharks to improve your skills.
- Use reference images: Always consult photos for accurate anatomy and details specific to different shark species.
Frequently Asked Questions
What’s the best type of pencil for drawing sharks?
A good starting point is an HB pencil for initial sketching and lighter details. For shading and darker areas, a 2B or 4B pencil will provide richer tones and blend more easily.
How can I make my shark look more realistic?
Focus on accurate proportions, dynamic posing, and thoughtful shading. Adding subtle textures, like small scales or scars, and realistic eye details can also greatly enhance realism. Study real shark photos.
Should I draw the shark’s habitat too?
You certainly can! Adding a simple background like ocean water, a few rocks, or even just some subtle light rays can greatly enhance the overall composition and give context to your shark. Start simple and build up.
What if my shark doesn’t look exactly like the example?
That’s perfectly normal and even encouraged! Every artist has their unique style. Focus on understanding the principles of construction and shading. Your interpretation will make your drawing unique and personal.
Our Top Recommended Finds
- Staedtler Mars Lumograph Pencil Set: A fantastic set of graphite pencils ranging from hard to soft, perfect for all stages of your drawing.
- Strathmore Bristol Smooth Paper: This paper offers a smooth surface that’s excellent for detailed line work and blending graphite without too much tooth.
- Kneaded Eraser: Essential for lifting graphite without smudging and for creating subtle highlights, offering more control than a standard eraser.
Dive Into Your Artistic Journey Today
You now have a complete toolkit to draw an impressive shark. Each step builds upon the last, making the process manageable and rewarding.
Don’t just read this guide; grab your pencils and paper right now. The best way to improve is by doing.
Once you’ve mastered the shark, why not try drawing other marine creatures? The same principles of construction and shading apply to everything from dolphins to sea turtles. Keep exploring and creating!
& Painting
No rigid rules or pretension. Just practical guides, medium comparisons, and encouraging tips to help you enjoy the drawing & painting process.