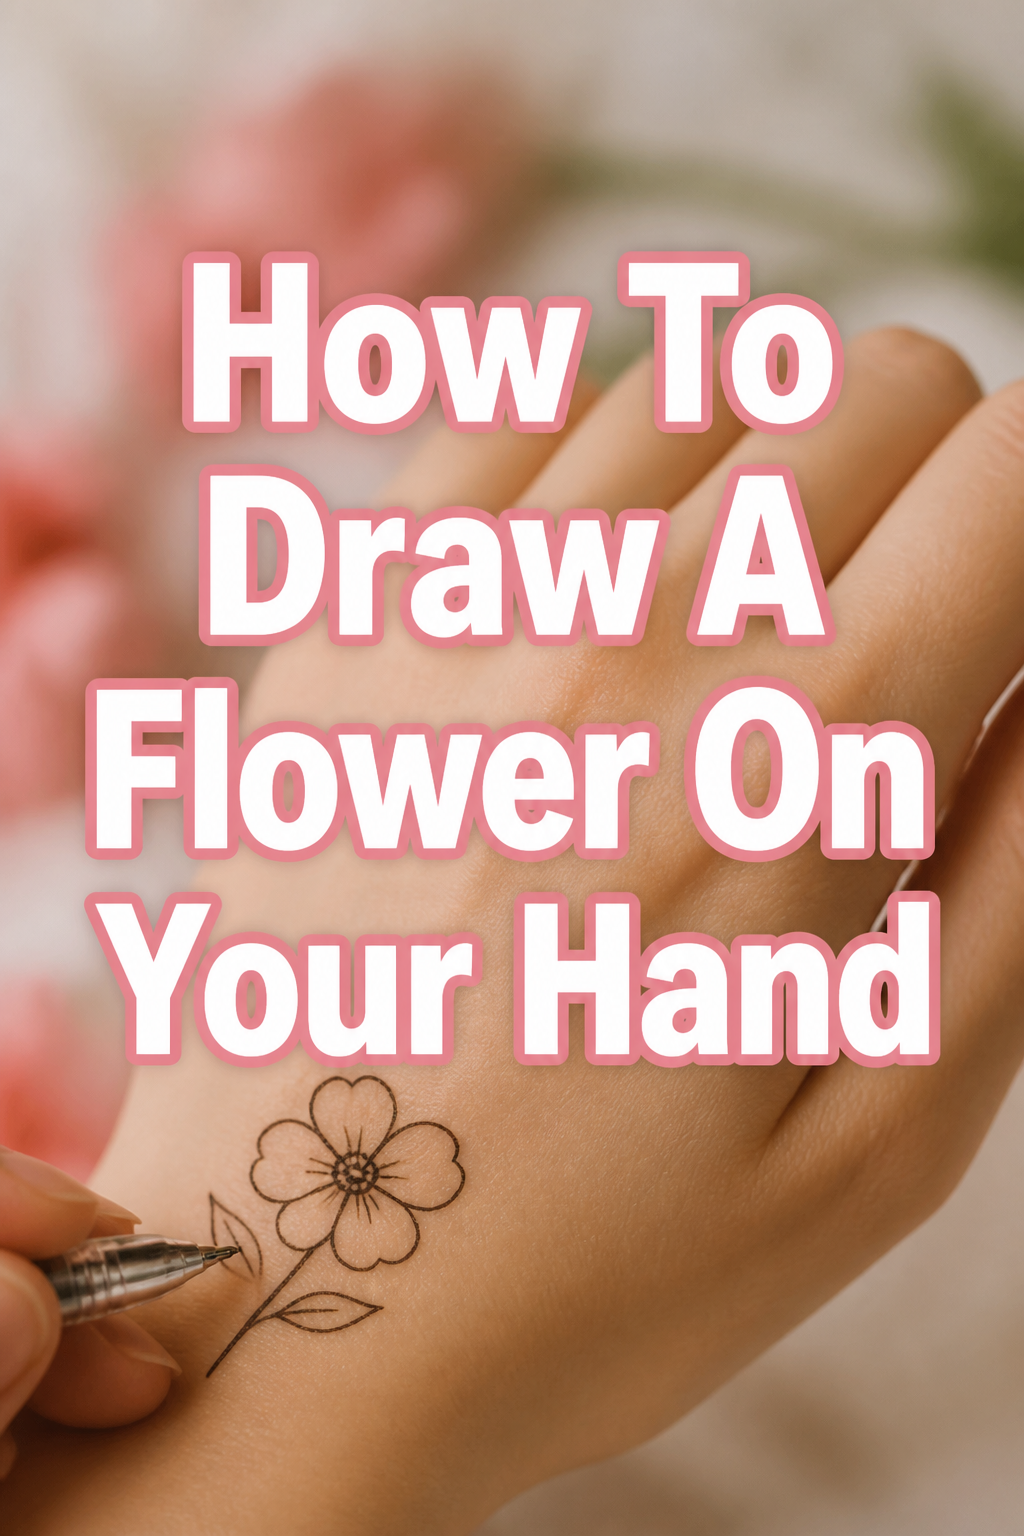
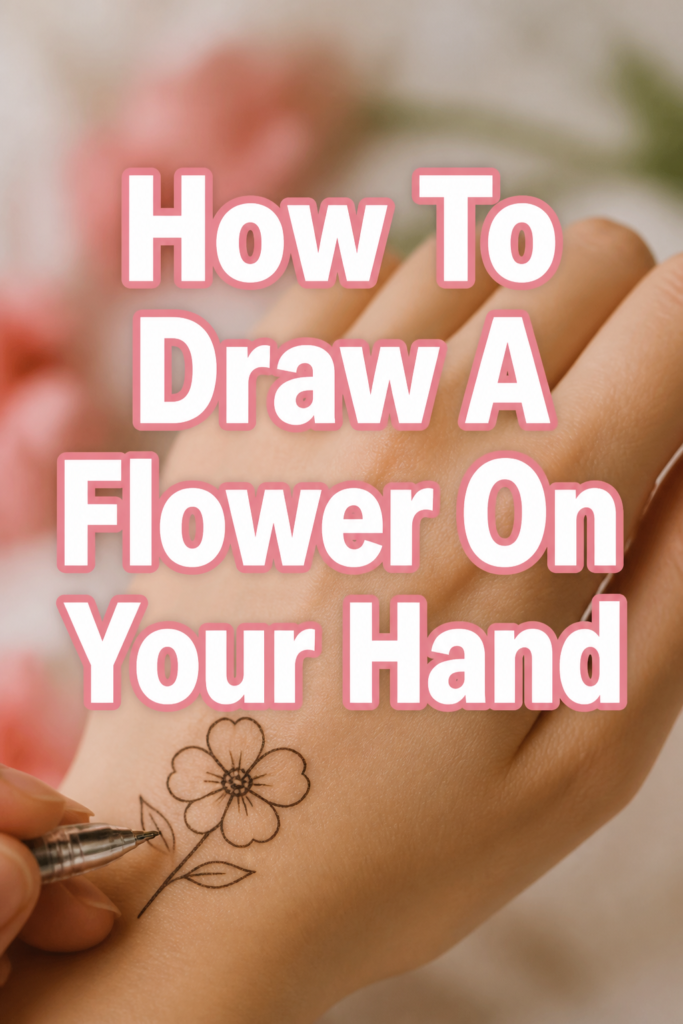
🌸 How To Draw A Flower On Your Hand

& Painting
No rigid rules or pretension. Just practical guides, medium comparisons, and encouraging tips to help you enjoy the drawing & painting process.
There’s something wonderfully whimsical about turning your own skin into a tiny canvas.
I remember doodling little stars and hearts on my hand as a kid, and later, simple flowers became my go-to design.
This guide will show you how to create a charming floral design, bringing a touch of art to your everyday.
Quick Overview
This guide will walk you through creating a lovely flower drawing directly on your hand.
You’ll learn how to sketch the basic shapes, add details, and make your temporary tattoo look fantastic.
- Time needed: 10-20 minutes
- Difficulty: Beginner
- What you’ll need: Skin-safe markers, a steady hand, and a little patience
Step-by-Step Instructions
Step 1: Gather Your Supplies
Before you begin drawing, make sure you have the right tools. Using the correct type of marker is crucial for safety and a good result.
Choose skin-safe, non-toxic markers. These can include cosmetic-grade eyeliner pencils, washable children’s markers, or specific body art pens.
Avoid permanent markers or industrial pens, as these can irritate your skin or be very difficult to remove.
Pro Tip: Always test a new marker on a small, discreet patch of skin, like your inner wrist, a few hours before drawing to check for any allergic reactions. Your skin’s health comes first!
Step 2: Prepare Your Canvas
A clean, dry surface ensures your drawing goes on smoothly and lasts longer. Your hand is your canvas, so treat it well.
Wash your hands thoroughly with soap and water. This removes any oils or dirt that could prevent the ink from adhering properly.
Dry your hand completely. Pat it gently with a clean towel until there is no moisture left on the skin where you plan to draw.
Step 3: Pick Your Perfect Spot
Where you draw your flower can greatly impact its visibility and comfort. Think about where it will look best and be least likely to smudge.
Consider areas like the back of your hand, your wrist, or the top of your fingers. The back of the hand offers a large, relatively flat surface.
Avoid areas that bend and crease often, such as your palm or knuckles, as the design might distort or rub off quickly.
Step 4: Sketch the Center
Every flower needs a heart, and a simple circle is the perfect starting point for your design. This circle will be the focal point.
Draw a small, light circle in the center of your chosen area. Don’t press too hard; this is just a guide.
Make the circle proportionate to the size you envision for your entire flower. A larger circle means a larger flower.
Step 5: Add the Petals
Now, bring your flower to life by adding its distinctive petals. You can choose a simple, rounded petal style for ease.
Draw small, connected ‘U’ shapes or gentle curves around the central circle. Imagine them radiating outwards like sunbeams.
Aim for an even number of petals, typically five or six, to create a balanced look. Don’t worry if they aren’t perfectly identical.
Pro Tip: Overlap your petals slightly at the base where they meet the central circle. This creates a more natural, layered appearance, rather than looking like separate elements glued together.
Step 6: Outline and Refine Your Design
Once you have the basic petal shapes, it’s time to make your flower pop. This step involves solidifying your initial sketch.
Go over your initial light lines with a bit more pressure or a darker marker if you have one. This creates a bolder, clearer outline.
Smooth out any wobbly lines and refine the petal shapes. You can gently correct small imperfections as you trace.
Step 7: Draw the Stem and Leaves
A flower isn’t complete without its supporting elements. Adding a stem and leaves grounds your design and adds natural charm.
Draw a curved line extending downwards from the base of your flower. This will be your stem.
Add one or two simple leaf shapes along the stem. You can make them teardrop-shaped or slightly serrated for a bit of detail.
Step 8: Add Details and Shading (Optional)
For an extra touch of artistry, consider adding some simple details and shading. This gives your flower more depth and character.
Draw small dots or a spiral inside the central circle for a textured look. You can also add tiny veins to your leaves.
Use cross-hatching or light, short strokes along one side of the petals to suggest shading, making them appear less flat.
Common Mistakes to Avoid
Pressing Too Hard
Applying too much pressure with your marker can lead to several problems. It can scratch your skin, make your lines too thick and messy, and even cause the marker tip to fray.
Instead, use a light, gentle touch. Let the marker glide over your skin. You can always go over lines a second time to darken them, but it’s much harder to lighten an overly dark mark.
Rushing the Process
Drawing on your hand requires a steady hand and a bit of patience, especially for beginners. Rushing can lead to uneven lines, smudges, and a less polished final design.
Take your time with each step. Focus on one element at a time, like drawing all the petals before moving on to the stem. A calm approach yields better results.
Ignoring Skin Safety
Using the wrong type of marker is a common and potentially harmful mistake. Permanent markers contain chemicals that are not meant for skin and can cause irritation, allergic reactions, or be very difficult to remove.
Always double-check that your markers are specifically labeled as “skin-safe,” “non-toxic,” or designed for body art. When in doubt, don’t use it on your skin.
Troubleshooting
My Lines Are Wobbly
Wobbly lines are a common issue, especially when you’re not used to drawing on an uneven surface like your hand. This often happens if you’re holding the marker too stiffly or trying to draw too quickly.
Try resting your drawing hand on a stable surface, like a table, to steady it. Use short, confident strokes rather than trying to draw a long line in one go. You can connect several short, deliberate lines to form a smoother curve.
The Ink Is Smudging
Smudging can occur if your hand isn’t completely dry, if you touch the wet ink, or if the marker takes a long time to dry. It’s frustrating to see your hard work smear.
Ensure your hand is perfectly dry before starting. Allow each section of your drawing to air dry for a few seconds before touching it or moving your hand significantly. If you’re prone to smudging, you can lightly dust the finished drawing with a translucent setting powder (like for makeup) to help set the ink.
My Flower Doesn’t Look “Right”
It’s easy to feel discouraged if your drawing doesn’t match the image in your head. This often happens when you focus too much on perfection rather than the joy of creation.
Remember that hand-drawn art is meant to be imperfect and unique. Embrace the quirks! Practice makes progress, not necessarily perfection. Try simplifying your design or looking at different flower styles for inspiration. The goal is to have fun and express yourself.
Key Takeaways
- Always prioritize skin safety by using only non-toxic, skin-safe markers.
- Prepare your hand by washing and drying it thoroughly for the best results.
- Start with light, guiding lines and gradually build up your design.
- Focus on simple shapes like circles and ‘U’s to construct your flower.
- Take your time and enjoy the creative process, rather than striving for perfection.
- Embrace small imperfections; they add character to your unique hand art.
Frequently Asked Questions
How long will the drawing last on my hand?
The longevity of your drawing depends on several factors, including the type of marker used, how often you wash your hands, and friction from clothing or activities. Typically, skin-safe marker drawings can last anywhere from a few hours to a day or two before fading significantly.
Can I make the drawing waterproof?
While no skin drawing is truly waterproof, you can help it last longer against light moisture. After your drawing is completely dry, you can lightly spray it with a makeup setting spray. This creates a barrier that can help prevent smudging and minor water damage, but it won’t withstand vigorous washing.
What if I make a mistake?
Don’t worry about minor mistakes! If the ink is still wet, you can often gently dab it with a damp cotton swab to remove it. For dried mistakes, a bit of soap and water, or even a makeup remover wipe, usually does the trick. Small errors can also be incorporated into your design or simply seen as part of its unique charm.
Are there different types of flowers I can draw?
Absolutely! Once you’re comfortable with a simple five-petal flower, you can experiment with many styles. Try drawing a rose by starting with a spiral, a daisy with elongated petals, or even a simple tulip. The basic principles of starting with a center and adding petals apply to many floral designs.
Our Top Recommended Finds
- Skin-Safe Body Art Markers: These markers are specifically formulated for skin, ensuring vibrant colors and easy removal without irritation.
- Makeup Setting Spray: A light mist of this spray over your finished, dry drawing can help it last longer and resist smudging.
- Gentle Makeup Remover Wipes: Perfect for correcting small mistakes or easily removing your design when you’re ready for a change.
Unleash Your Inner Artist
Drawing a flower on your hand is a simple, delightful way to express your creativity.
It’s a temporary piece of art that can brighten your day and perhaps even spark a conversation.
Why not grab your markers right now and give it a try? See what beautiful bloom you can create on your skin today.
& Painting
No rigid rules or pretension. Just practical guides, medium comparisons, and encouraging tips to help you enjoy the drawing & painting process.